Handbook deep dive · 09.06.2026
Vibecoding 101: the complete guide for beginners in 2026
A comprehensive vibecoding guide for beginners: IT map, tech stack, model, code, skill, GitHub, Vercel, and your first project.

Evgeny Shilov
text compiled by the editorial team's AI agents under the author's supervision · facts verified against primary sources 17.06.2026

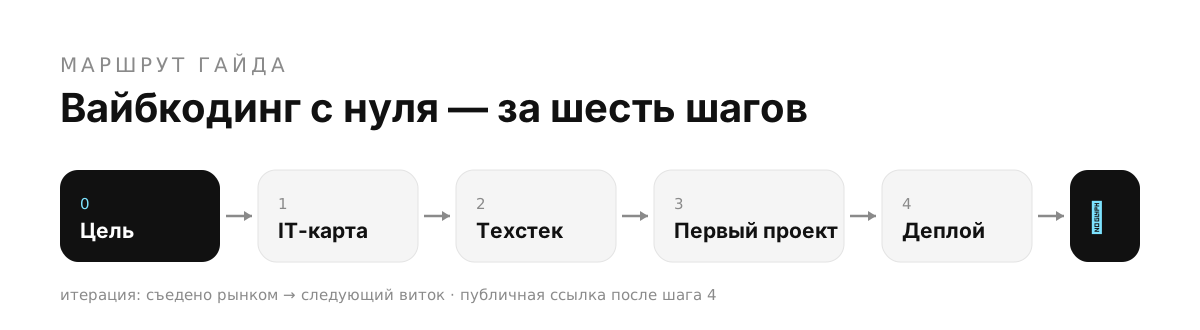 Guide route map: goal, IT map, tech stack, first project, deployment, and iteration
Short answer: vibecoding in 2026 is no longer a toy for programmers or a magic "build me a website" button. It is a new core computer skill. Much like Excel used to be: not everyone needs to master pivot tables, but almost everyone benefits from knowing how to make a simple spreadsheet, formula, and report.
The same is happening with programming. If you work on a computer, you already have tasks that can be automated: an internal tool, a personal script, a landing page, a simple CRM, a lead form, a dashboard, a client website, or a mini-app for your business.
But there is a trap. If you approach vibecoding like Tilda, where you "tweak something - and a website appears," problems begin quickly. AI can write code, but if you do not understand at all what a client, server, frontend, backend, database, API, deployment, and GitHub are, you will not be able to properly define the task, verify the result, and take the project to production.
This article is an extended text version of the two-hour video "Programming Is the New Excel." You can watch it on YouTube, and below I have organized the material as a standalone beginner's guide: from the IT map to your first project, GitHub, and Vercel.
This is not a summary "about programming in general." It is an entry route into vibecoding: first the big picture of IT, then a specific stack, then a first project you can take all the way to a public link.
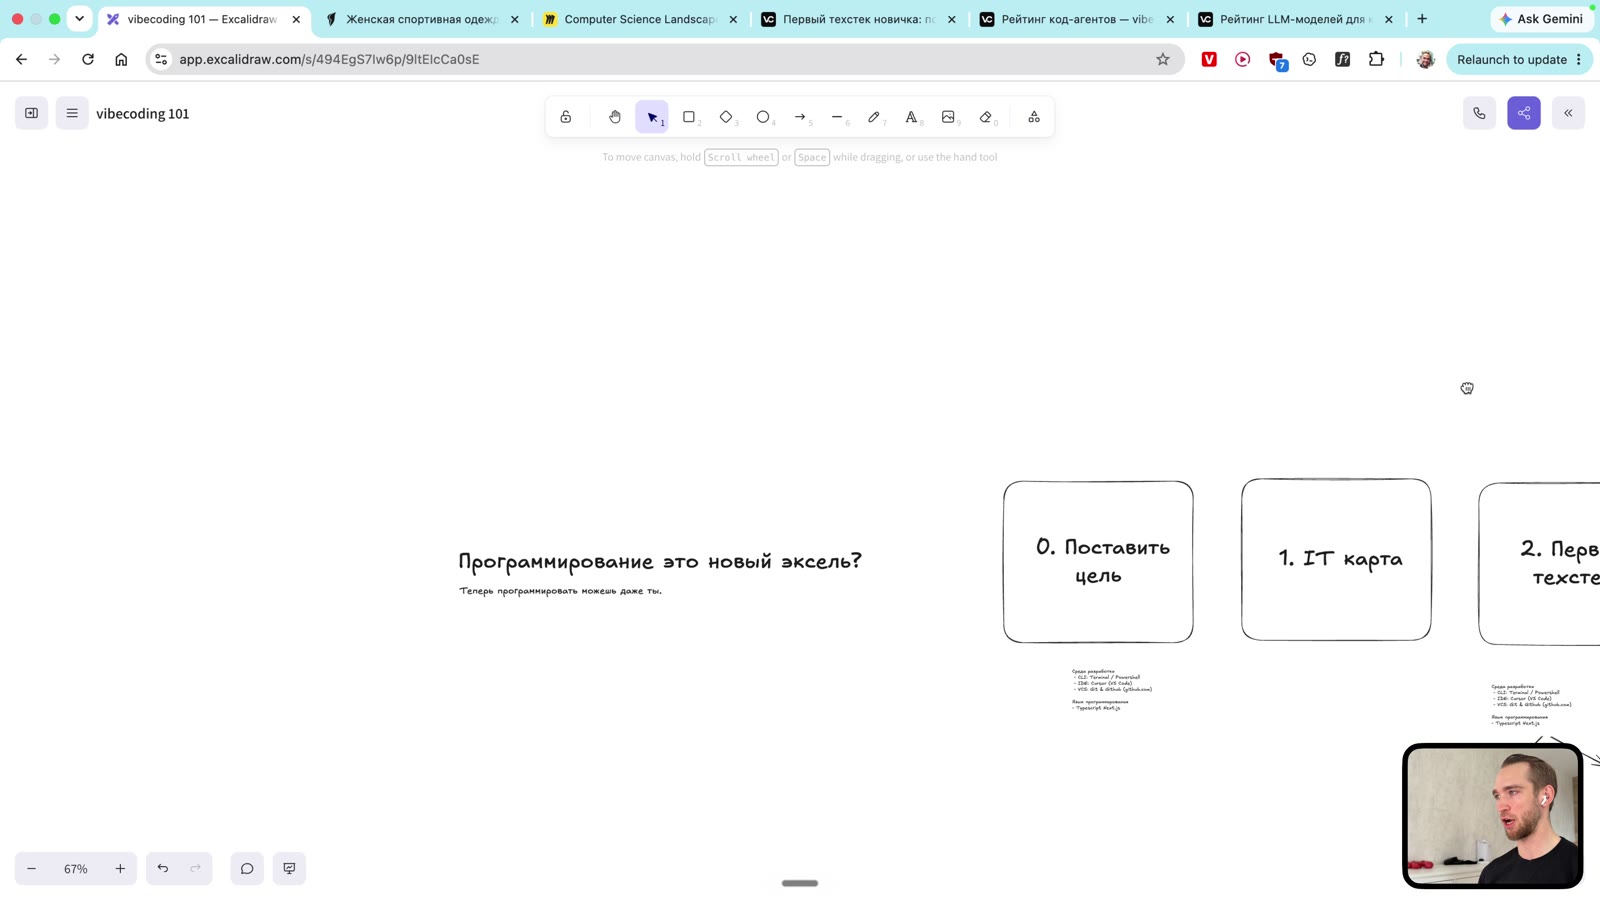 The video lays out the entire path as a big map: goal, IT map, stack, coding, testing, deployment, and iteration
How this guide works
- Part 1. The IT landscape and IT map - learn where the client, server, network, frontend, backend, databases, API, and deployment fit into development.
- Part 2. Build your tech stack - choose a model, tools, codebase, and the minimum setup for your first project.
- Part 3. Your first vibecoding project - take a real use case, give an agent a task, verify it, deploy it, and iterate.
Keep three layers in your tech stack
- Model - which LLM thinks, writes code, and fixes errors.
- Code - where the project lives, which framework it uses, and how the agent works with files.
- Skill - what you need to know: define a task, read the result, verify it, give feedback, and take it to production.
Internal links throughout the article
- Model and coding-agent benchmarks - when you need to choose a model or understand who is currently strong at coding.
- My AI stack in 2026 - the current set of tools I actually use.
- Step-by-step setup for your first tech stack - a separate setup-guide version; I have also repeated the key steps below in this article.
- Tool database - profiles of models, agents, companies, and stacks.
Key takeaways
If you are a complete beginner, you do not need to first spend a year learning JavaScript, algorithms, and processor architecture. You need to understand the map: where the frontend is, where the server is, how data reaches the user, why you need an API, and why GitHub and Vercel keep coming up in conversations about vibecoding and web development.
Vibecoding works best when you have a specific goal. Not "learn programming in general," but "build a lead page," "make a client form," "automate a report," "redesign a friend's website," or "build an MVP." A goal helps the agent avoid writing abstract nonsense.
AI tools do not eliminate architecture. Cursor, Codex, Claude Code, GitHub Copilot, Lovable, and Bolt can write code, but they work inside the usual IT world: languages, frameworks, packages, databases, clouds, deployment, and testing.
For a first international web project, a solid starter stack is TypeScript, Next.js, Tailwind CSS, Cursor or Codex, GitHub, and Vercel. You can leave the backend alone if the first task is a static page or a simple MVP without data storage.
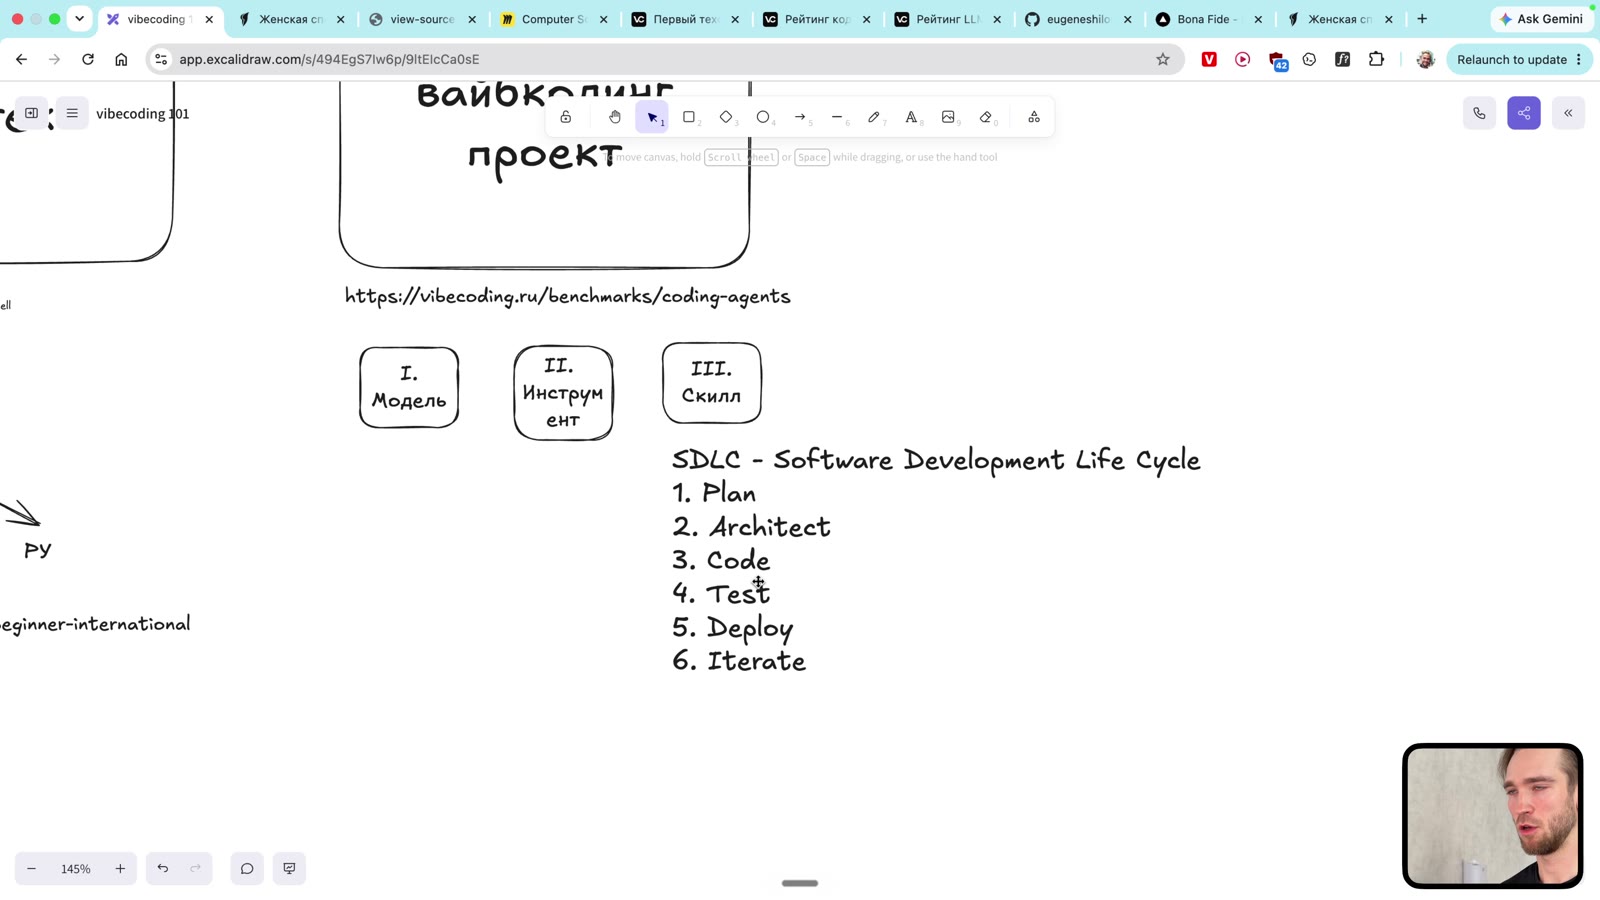
The main beginner skill is not "writing code by hand," but defining a task, reading the result, spotting issues, giving the agent specific feedback, and going through the cycle: planning, architecture, code, testing, deployment, and iteration.
Part 1. The IT landscape and IT map
First, you need the big picture. Not a language, not a framework, not "which prompt to paste into Cursor," but a map of the world where an agent will write code. Without this map, vibecoding turns into guesswork: AI did something, something broke, and you do not understand exactly where the problem is.
Programming is the new Excel
Excel used to be a required skill for anyone who works with information. Not everyone needs to build investment-bank-level financial models. But if someone cannot open a spreadsheet, make a formula, and organize data at all, they are left out of normal office work.
Programming is moving in the same direction now.
Not in the sense that "everyone must become a senior developer." No. But being able to build a small website, automate a repetitive action, connect a form, write a simple script, or explain exactly what needs to be done to an AI agent is becoming basic literacy.
In the video, I give a real-life example: someone on an advertising team built an internal tool that automated most of their routine work. They did not become a "classic programmer," but they became the most productive person in their area because they spotted a process that could be handed off to software.
Here is the right idea to start with:
Everything you do regularly on a computer can potentially be automated.
Not necessarily immediately. Not necessarily perfectly. But if you see a repeated action, spreadsheet, form, export, manual copying, report, landing page, or small internal process, it is a candidate for your first project.
Start with a goal, not a language
The first step is not "choose a programming language." The first step is to set a goal.
A bad goal: "I want to learn programming."
A reasonable goal: "I want to build a page that collects leads from clients."
Other reasonable goals:
- build a simple landing page for a service;
- automate a business report;
- build an internal page for a team;
- redesign an acquaintance's old website;
- make a form that saves leads;
- build a personal dashboard;
- make a small tool for your work.
Why this matters: an AI agent needs specifics. If you say "teach me programming," it starts a lecture. If you say "build a page for a fitness brand with a hero, catalog, lead form, and deployment to Vercel," it can build a route.
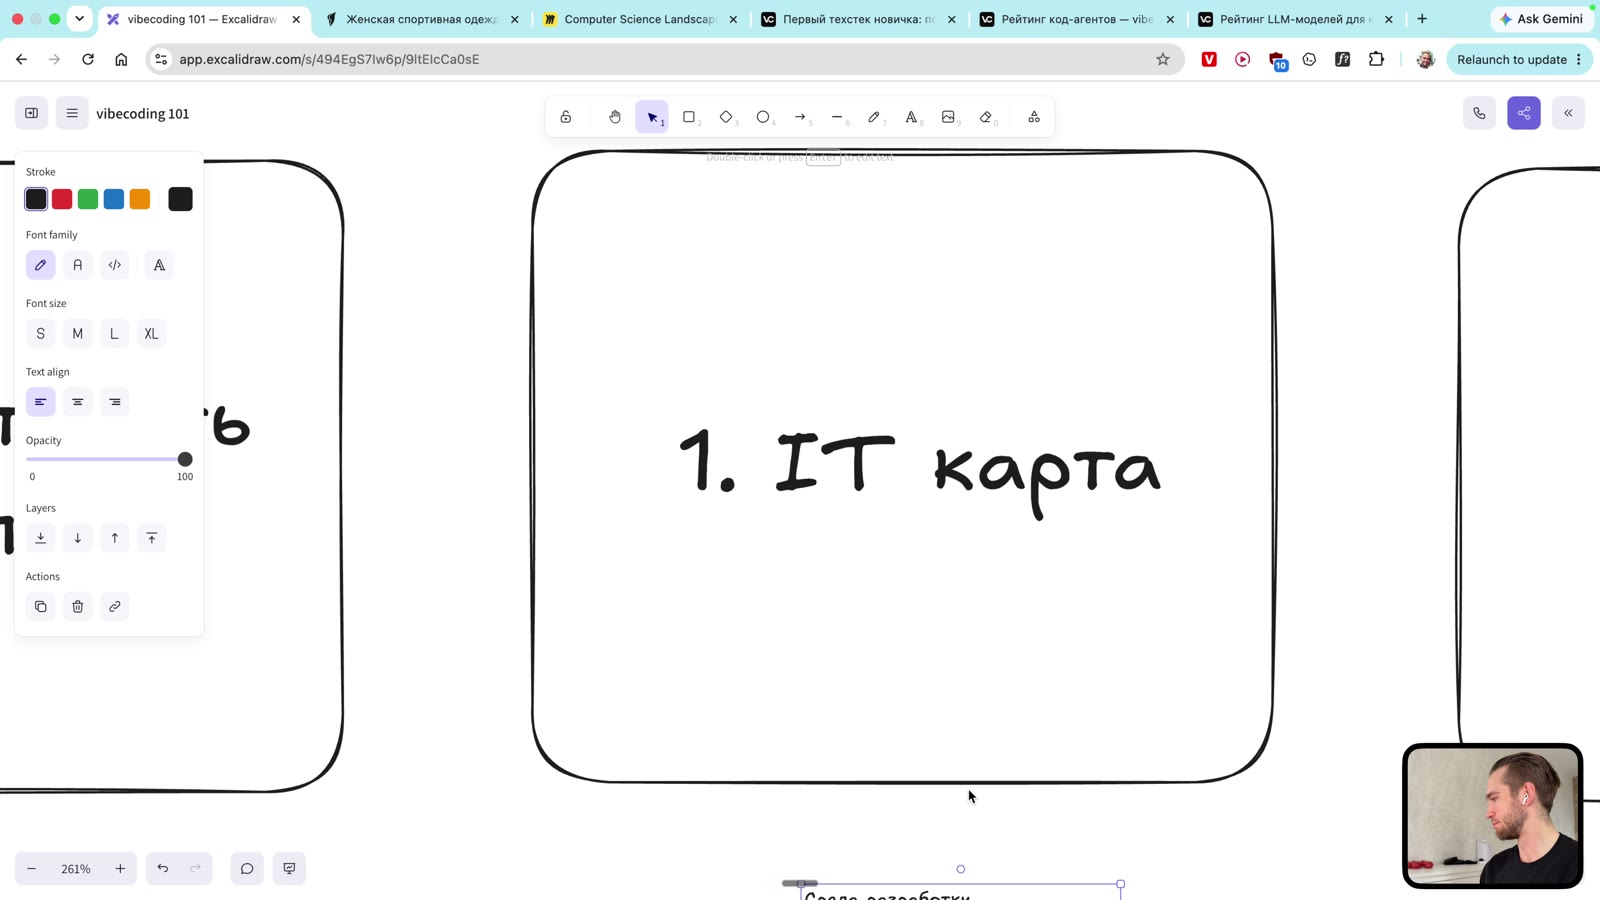 At the start of the video, the goal is defined before choosing a stack: first what we build, then what we build it with
In the video example, the goal is to take the existing Bonafide website and make a new version inspired by Nike.com. This is not a practice todo list, but a clear product task: there is a brand, a visual reference, and a future website.
Beginners should start this way. Not with abstract "practice," but with a small real result.
Why you need an IT map
IT feels like magic because there are too many entities inside it. Languages, frameworks, terminal, GitHub, servers, databases, APIs, clouds, domains, builds, packages, deployment, logs, and errors.
If you see all of this as one huge box, vibecoding becomes a game of chance: you ask AI, it does something, it seems to work, then it breaks, and it is unclear where to look.
You need a map.
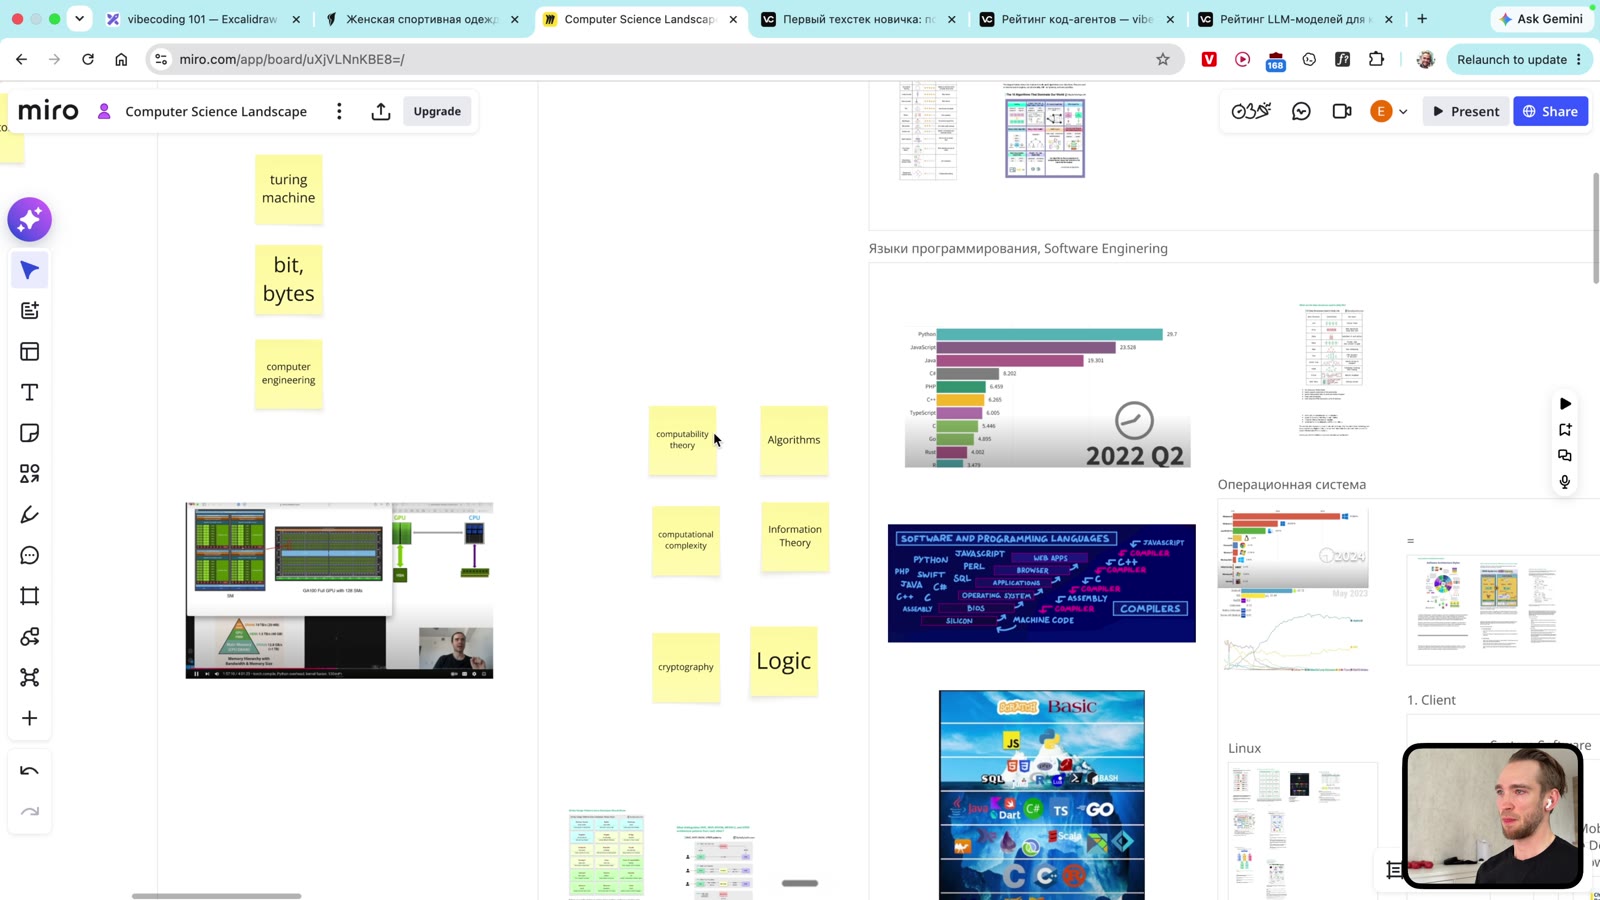 The big IT map from the video: instead of a magic box, we break development down into areas
The map is not meant to make you an engineer overnight. It is there so you understand where a problem belongs.
If text on a page is the wrong color, that is frontend and CSS.
If a form submits but data is not saved, that is the backend or database.
If the website works locally but does not open online, that is deployment, hosting, or a domain.
If the agent installed an old library version, that is the package manager and dependencies.
If Vercel did not understand that the project uses Next.js, that is project structure and build settings.
When you can at least roughly place a problem on the map, you are no longer helpless. You can give the agent normal feedback: "check the deployment on Vercel," "look at package.json," "the form is not writing data to the database," or "the mobile header overlaps the hero."
Programming languages: why they are needed at all
At the lowest level, a computer does not understand TypeScript or Python. It understands machine code: low-level instructions close to hardware. It is inconvenient for people to write that way, so layers of abstraction emerged.
First came low-level languages such as Assembly. Then C. Then more convenient languages. Then JavaScript, Python, TypeScript, and other languages that people can use without constant pain.
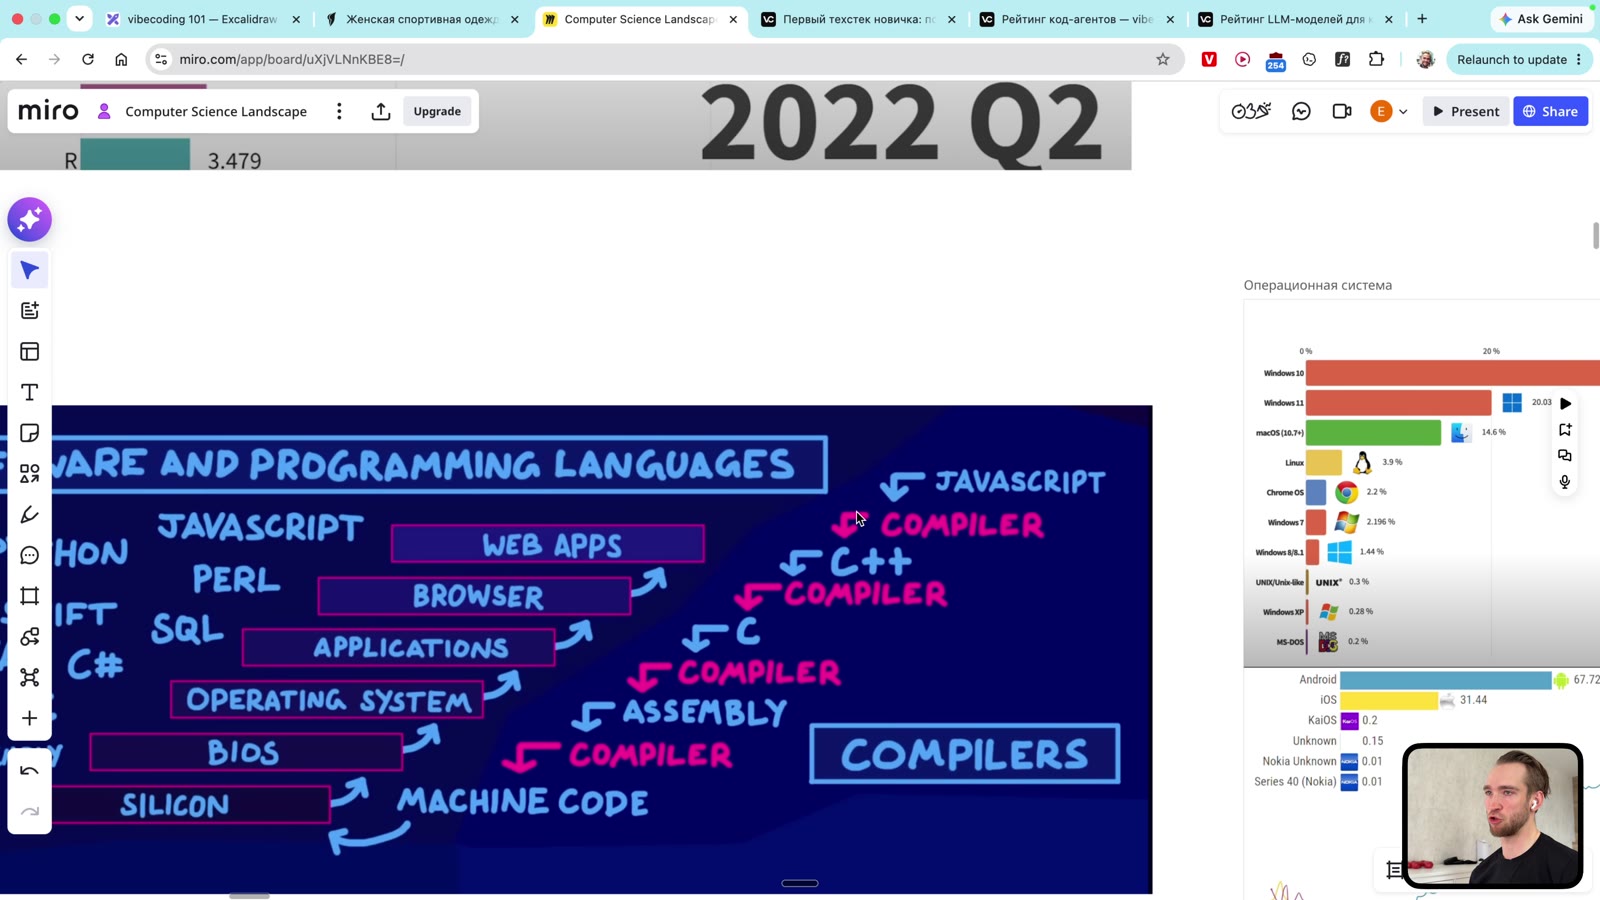 The video explains languages as layers of abstraction: from machine code to languages people can use
The key idea for a beginner is simple: a programming language is a way to tell a computer what to do in a form people can understand.
But for web vibecoding, you do not need to know every language. At the first step, it is important to understand that these come up most often:
- HTML - page markup;
- CSS - visual appearance;
- JavaScript - browser logic;
- TypeScript - a stricter and safer version of JavaScript;
- Node.js - a way to run JavaScript outside the browser;
- SQL - a language for working with relational databases.
If you are using a modern web stack, TypeScript and Next.js will come up constantly. So for a first project, it is better not to argue with the market and to use a widely adopted stack that AI knows well.
The web is client, server, and network
Web development rests on three major blocks: client, server, and network.
The client is what the user interacts with in a product. A browser, mobile app, desktop app, and sometimes even a device without a screen. In our case, the client is most often a browser.
The server is a computer that provides the client with data, pages, images, API responses, and everything else. A server does not have to sit in your home. It is usually somewhere in the cloud.
The network is how the client and server communicate with each other.
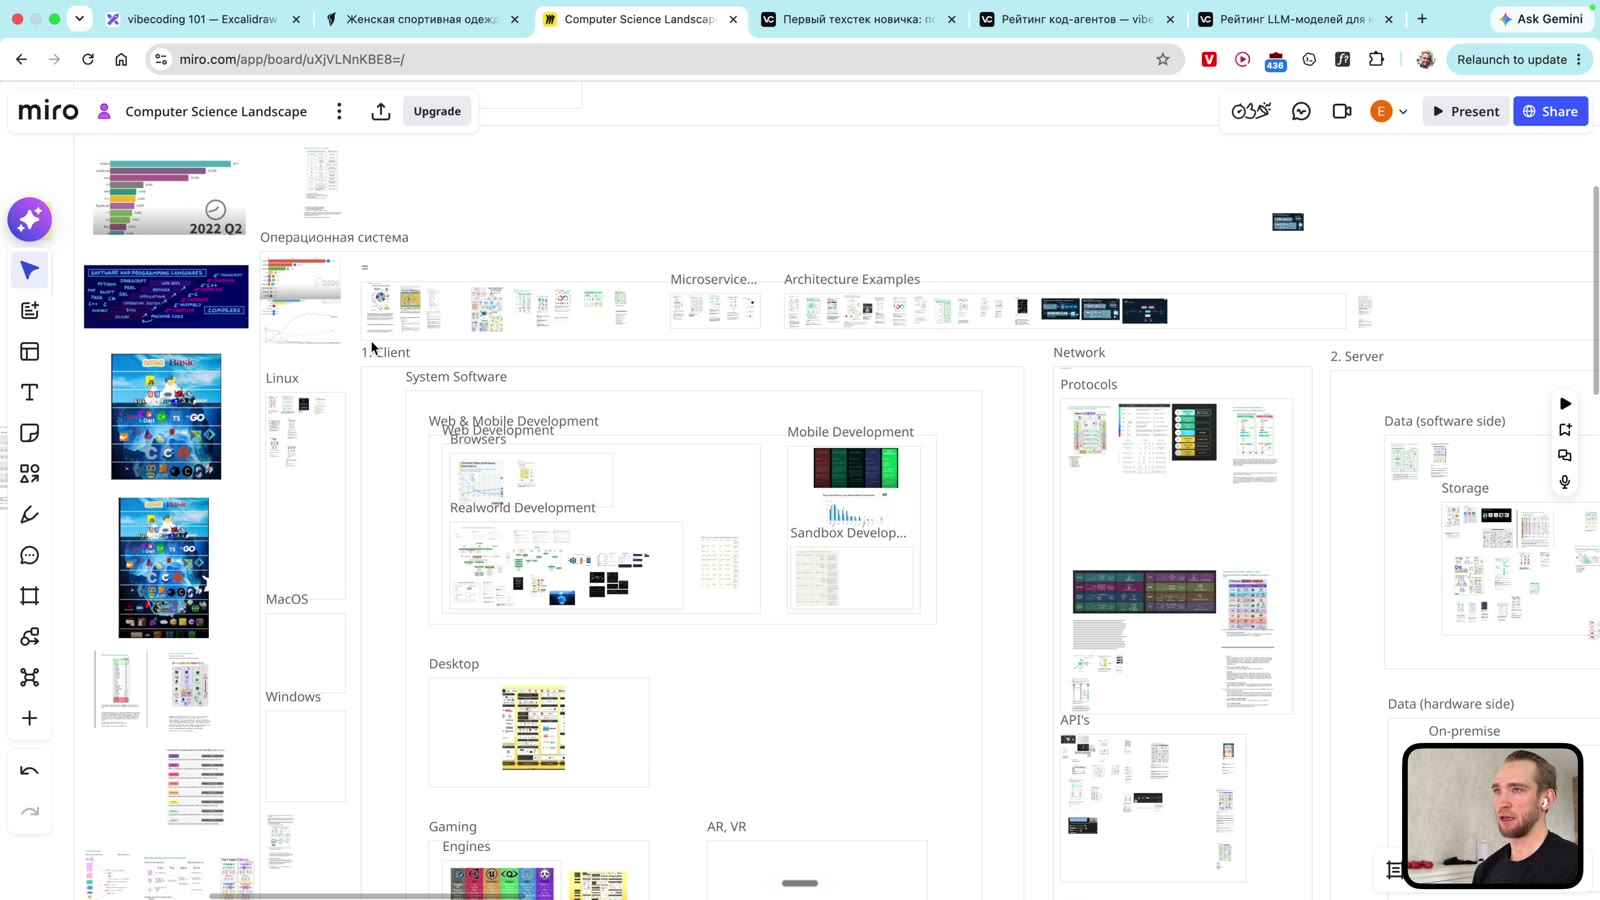 Basic diagram from the video: client, server, and the network between them
Example: you open a website. The browser on your laptop is the client. It requests a page. Somewhere in the cloud, a server returns HTML, CSS, JavaScript, images, and data. Network communication happens between them.
For a beginner, this matters more than it seems.
When you say "my website does not work," you need to clarify: where does it not work?
- Is the button not displaying in the browser?
- Is the server not returning data?
- Is the request not getting through?
- Is the database not responding?
- Did deployment fail to build?
- Is the domain not connected?
Without this map, everything turns into one phrase: "it broke." With the map, you start to understand where to investigate.
What a server is
A server is not a magical cabinet. It is also a computer, but its job is to serve others.
Your laptop is usually a client: it requests, displays, and processes your clicks. A server usually responds: it stores data, serves files, accepts requests, and runs code that needs to operate continuously.
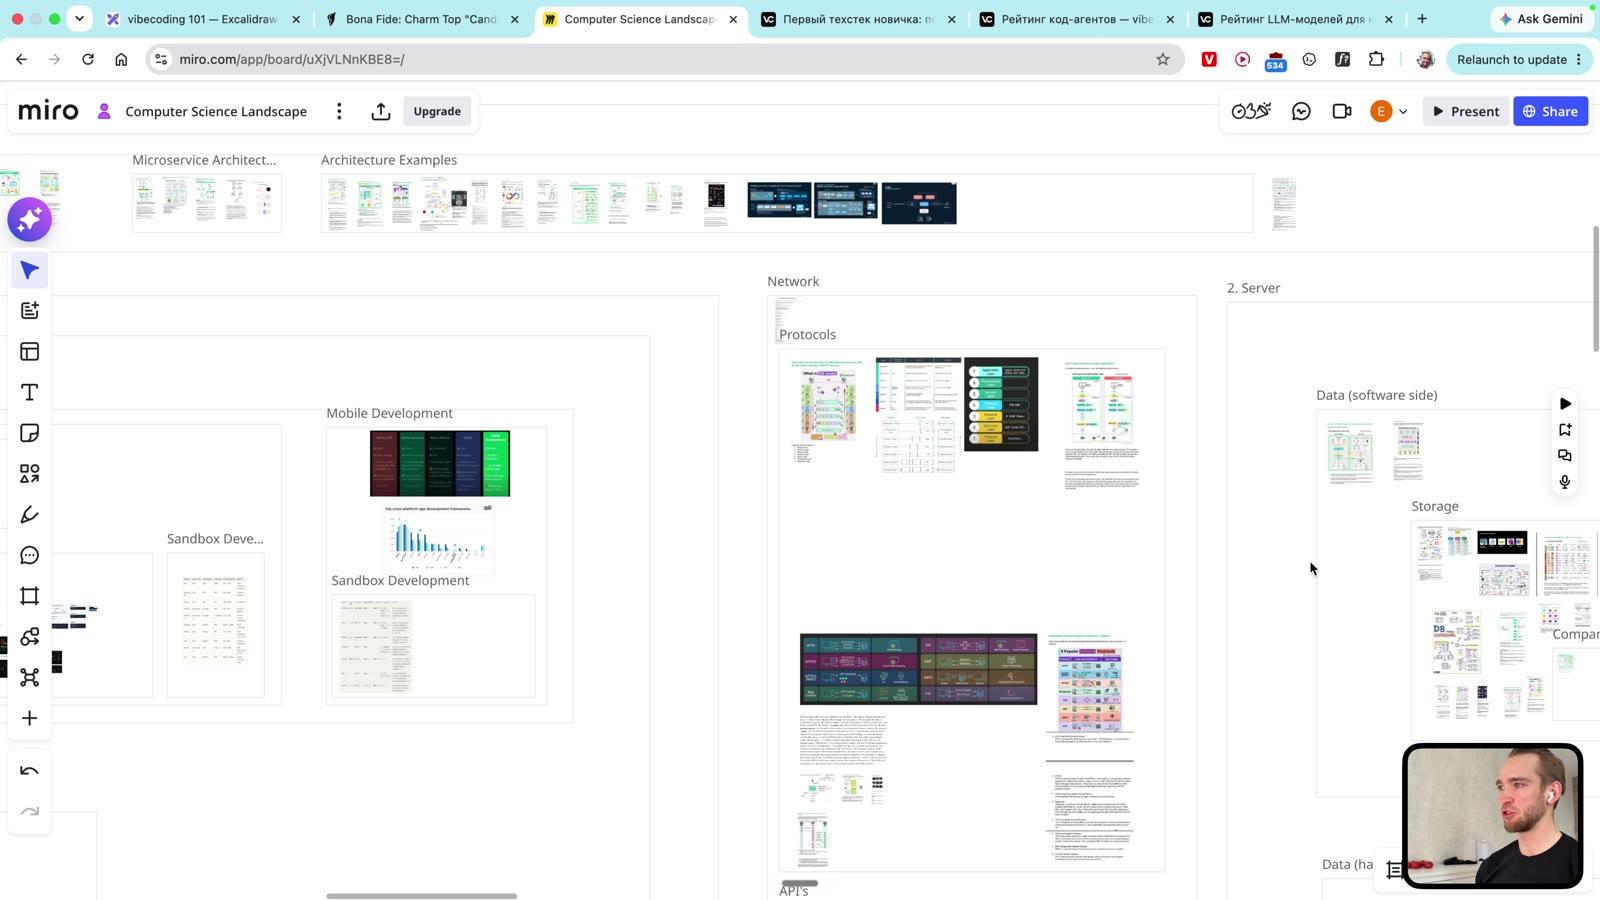 The video explains a server through a website: part of the image and data reaches the client from another machine
A server has two sides:
- hardware - a physical machine or virtual machine;
- software - the code, database, and processes running on it.
When people say "cloud server," they usually do not mean the sky or abstract magic. It is someone else's computer in a data center that you rent or use through a service.
For vibecoding, it is important to understand cloud layers:
SaaS - software as a service. For example, Dropbox. You use it but barely touch the technical side.
IaaS - infrastructure as a service. For example, AWS or Yandex Cloud. A lot of control, a lot of complexity.
PaaS - platform as a service. For example, Vercel, Supabase, Convex. They remove some complexity and give developers a more understandable layer.
Beginners most often need PaaS. Not because it is "toy-like," but because you want to build a product rather than spend a week configuring AWS.
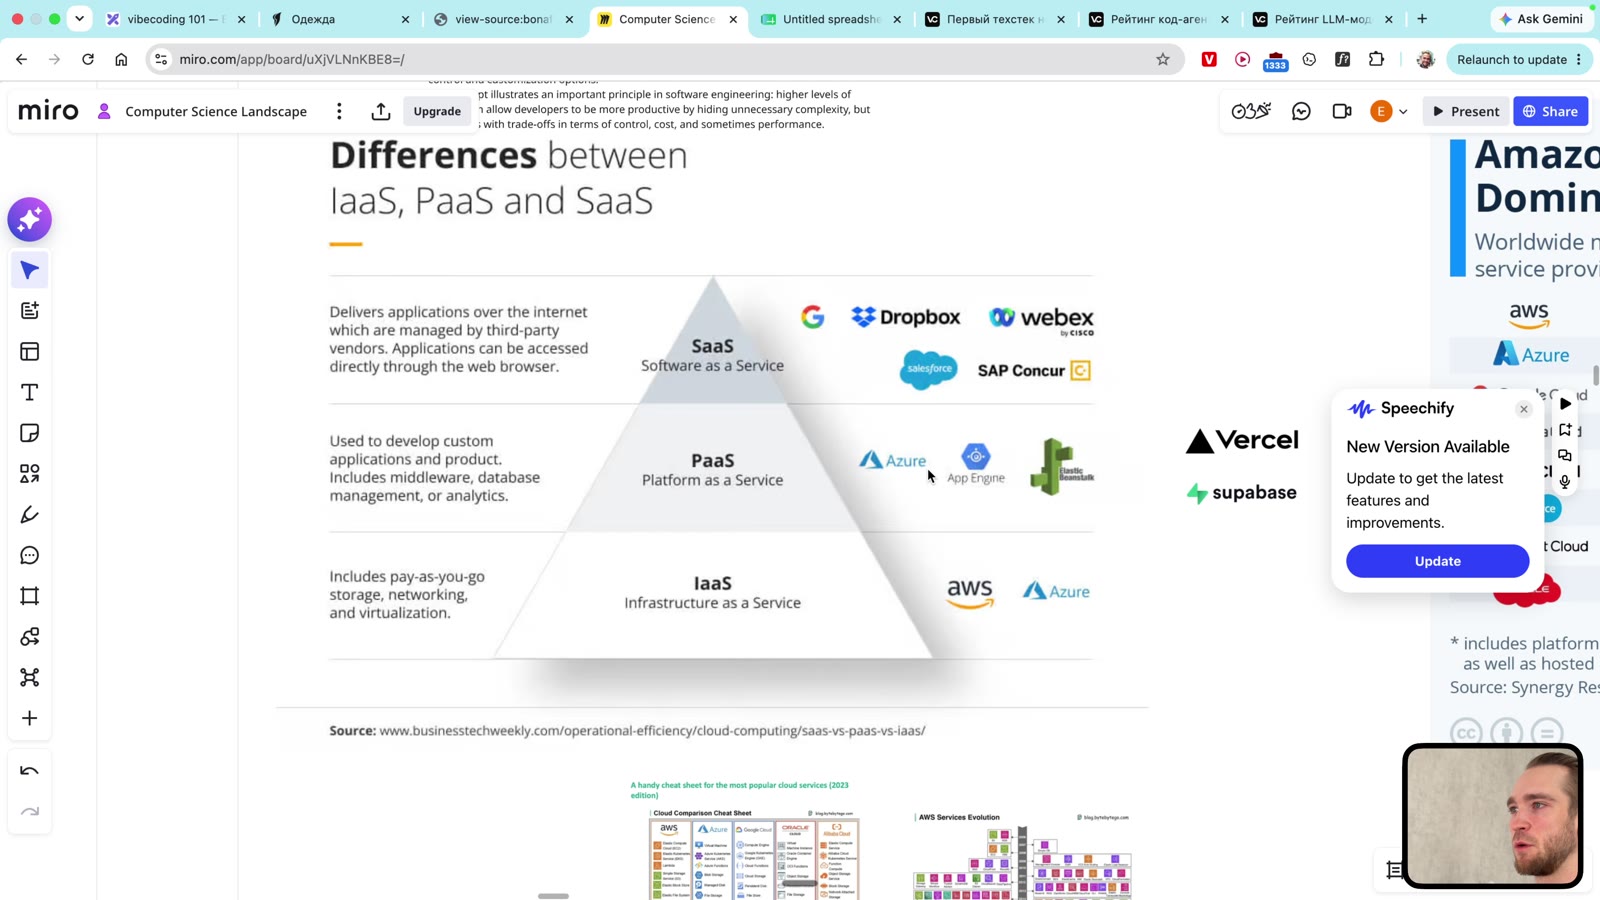 PaaS services such as Vercel, Supabase, and Convex remove part of the infrastructure complexity
Frontend: HTML, CSS, and JavaScript
The frontend is what the user sees and interacts with.
In the classic web, the frontend rests on three things.
HTML handles structure: where the heading is, where the text is, where the link is, where the image is, and where the form is.
CSS handles visual appearance: color, size, spacing, grids, responsiveness, border radii, and a button's hover state.
JavaScript handles behavior: what happens on click, how a menu opens, how a form is validated, and how data loads without a page refresh.
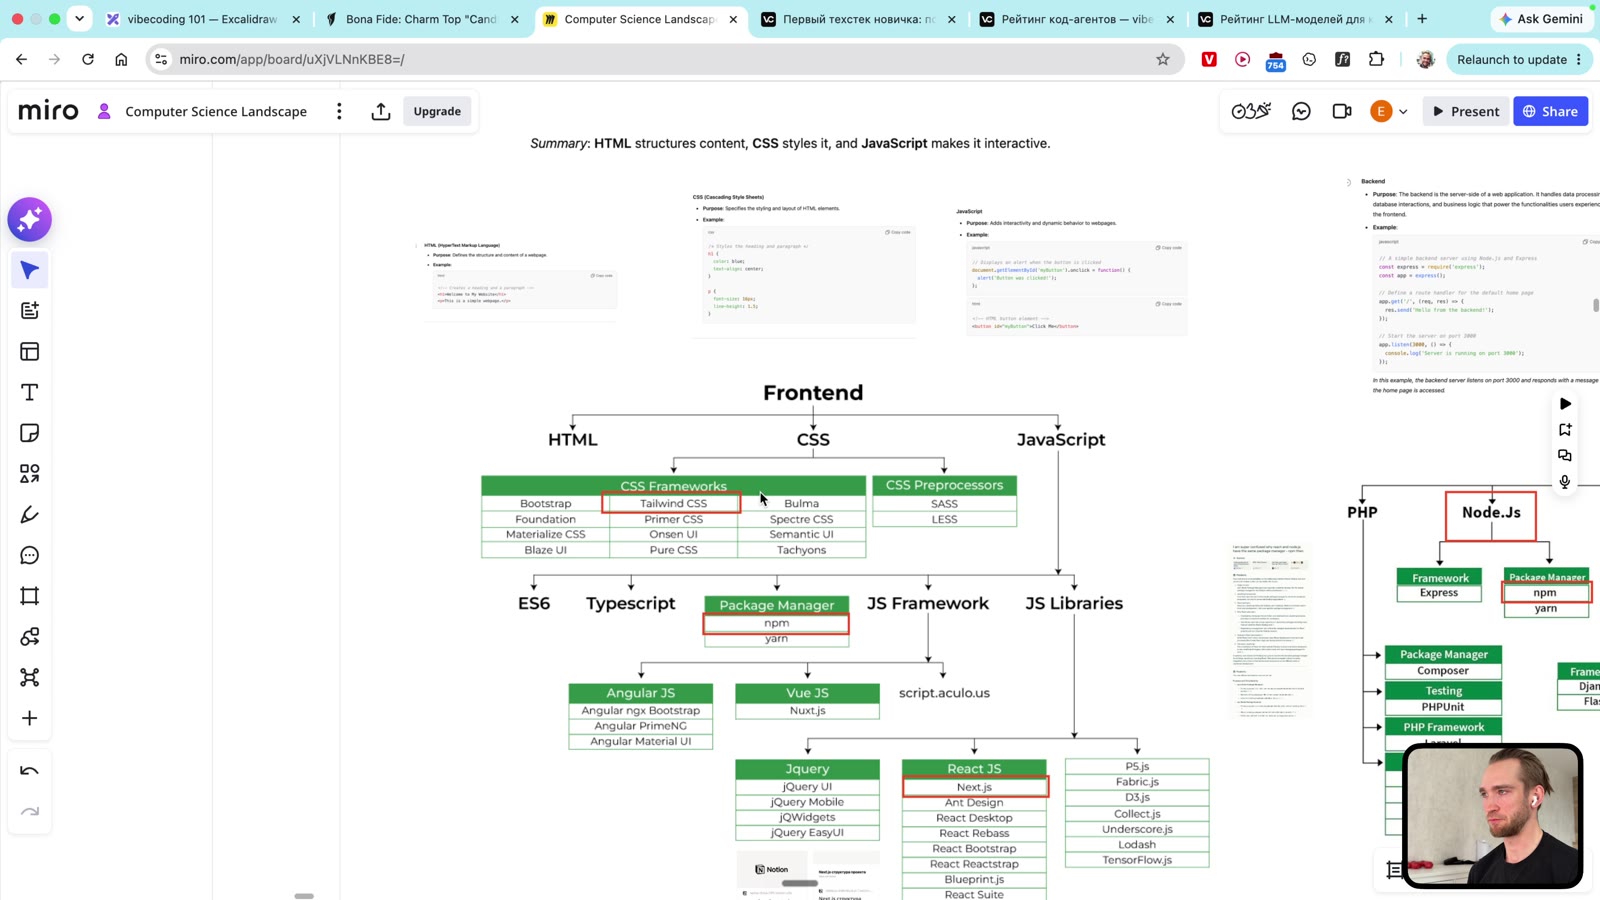 The video breaks down the frontend as a combination of HTML, CSS, and JavaScript
You can see HTML directly in the browser through View Page Source or developer tools. This does not mean you need to immediately read all the HTML. But it is useful to understand that a page did not simply "draw itself." There is structure underneath it.
 View Page Source shows the HTML foundation of a page: not magic, but markup
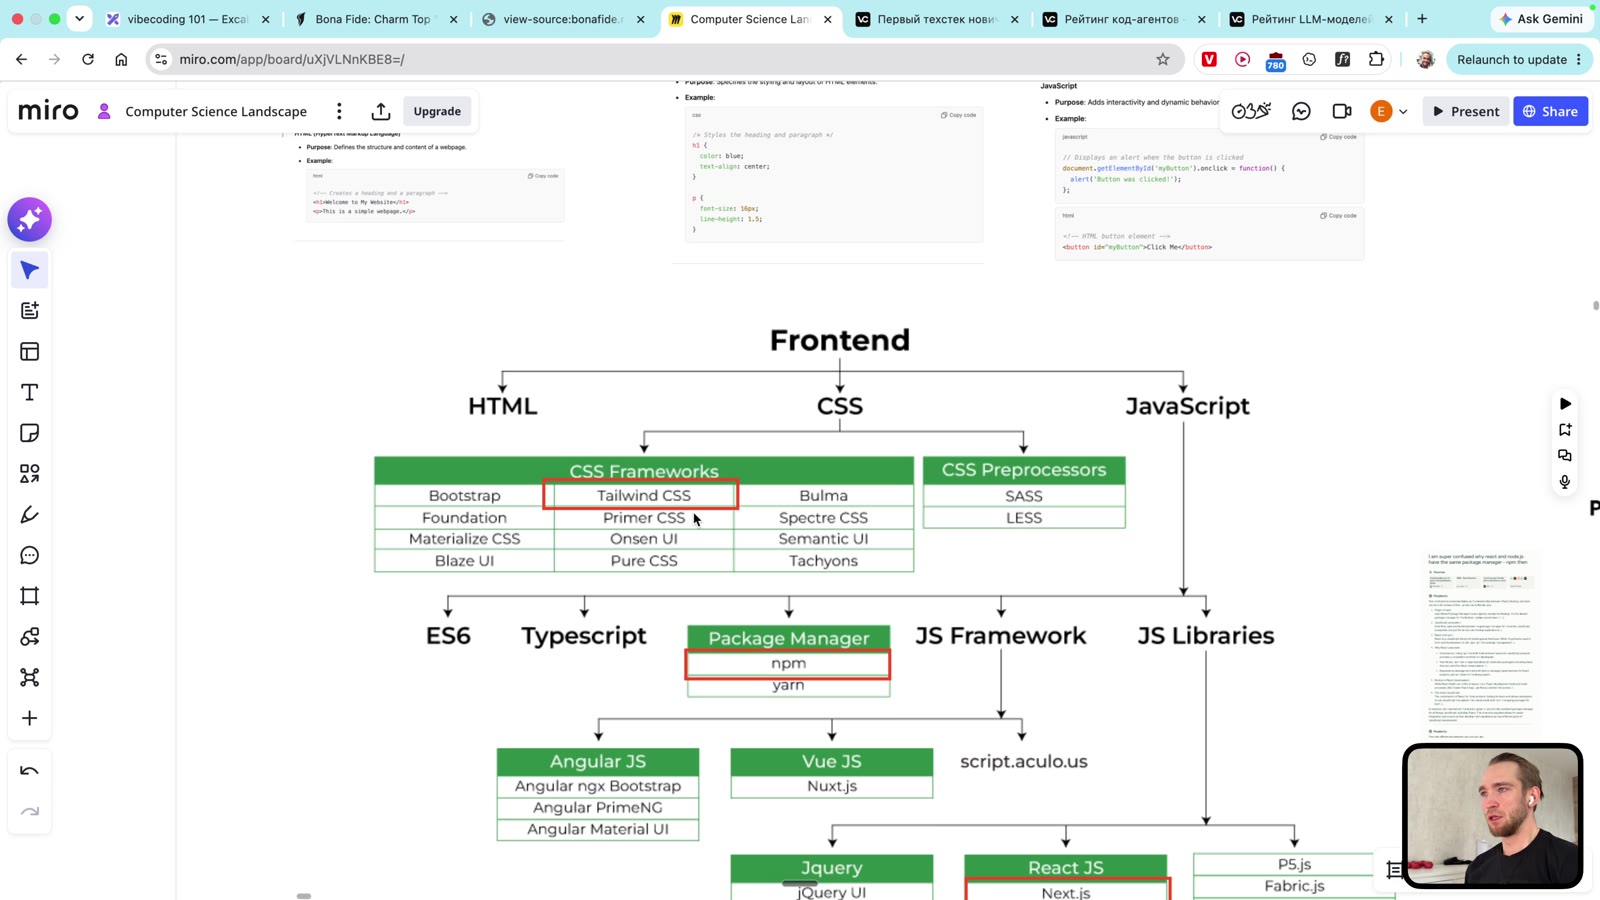
CSS can be written separately, but modern projects often use frameworks. In the video, I show Tailwind: a popular CSS framework that lets you write styles directly beside markup through short classes.
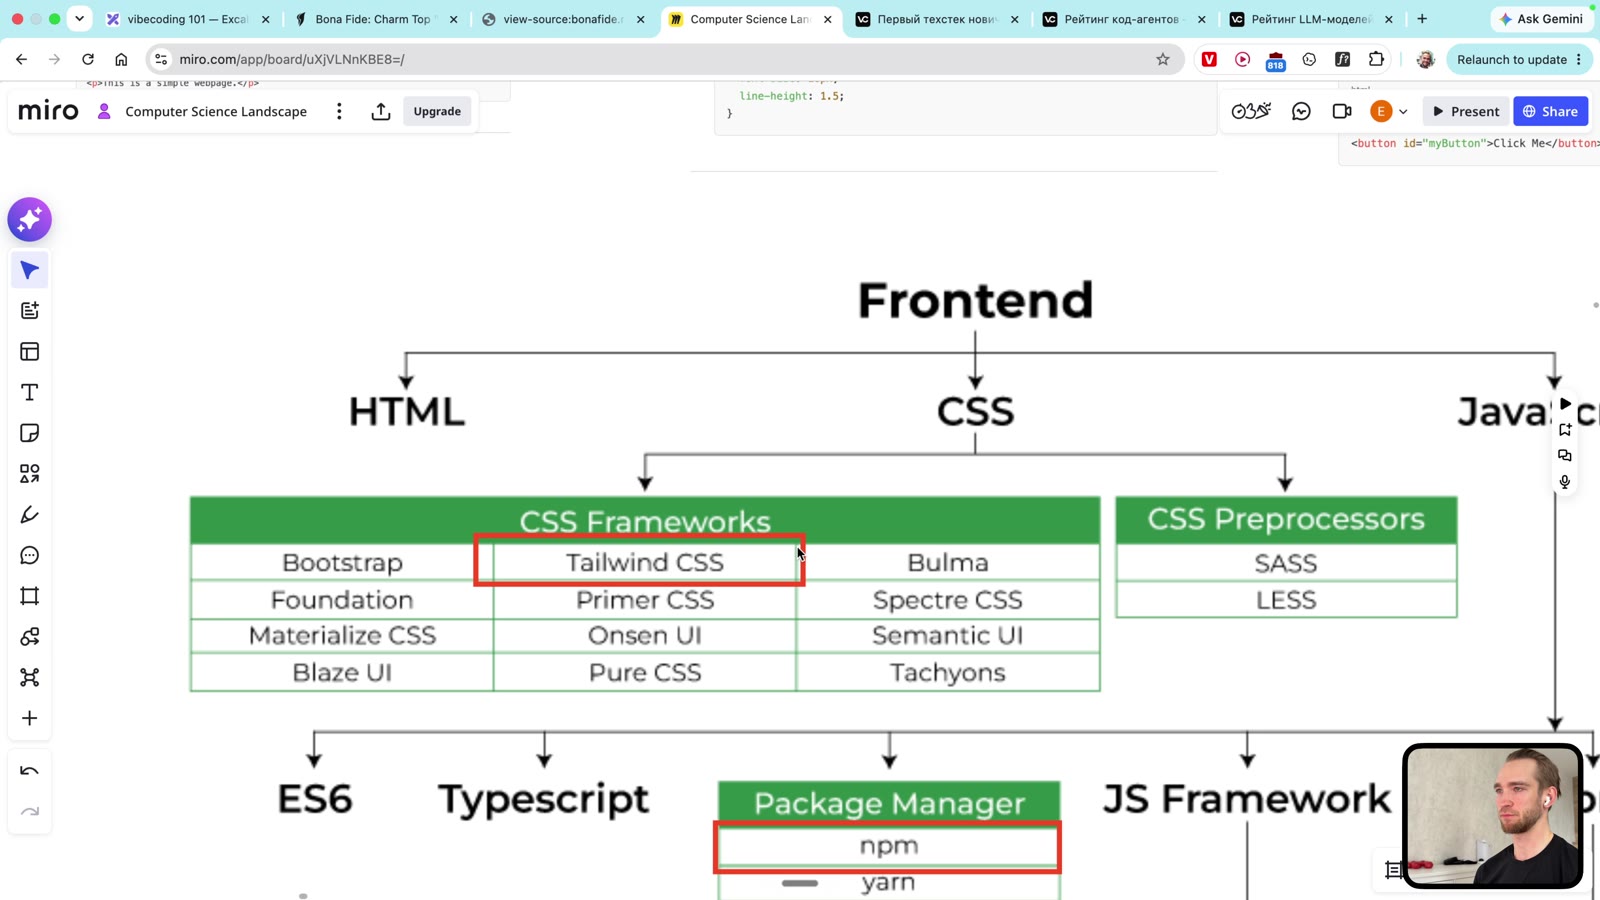 Tailwind on the IT map: a popular CSS framework for modern web projects
In modern web development, JavaScript almost always comes together with TypeScript. TypeScript adds types and reduces the number of silly mistakes. It is also easier for AI agents to work with a typed project because they get more clues about the code structure.
Next.js is one of the most popular frameworks based on React. It is good for a first project because AI models know it very well, it has a strong ecosystem, and it works natively with Vercel.
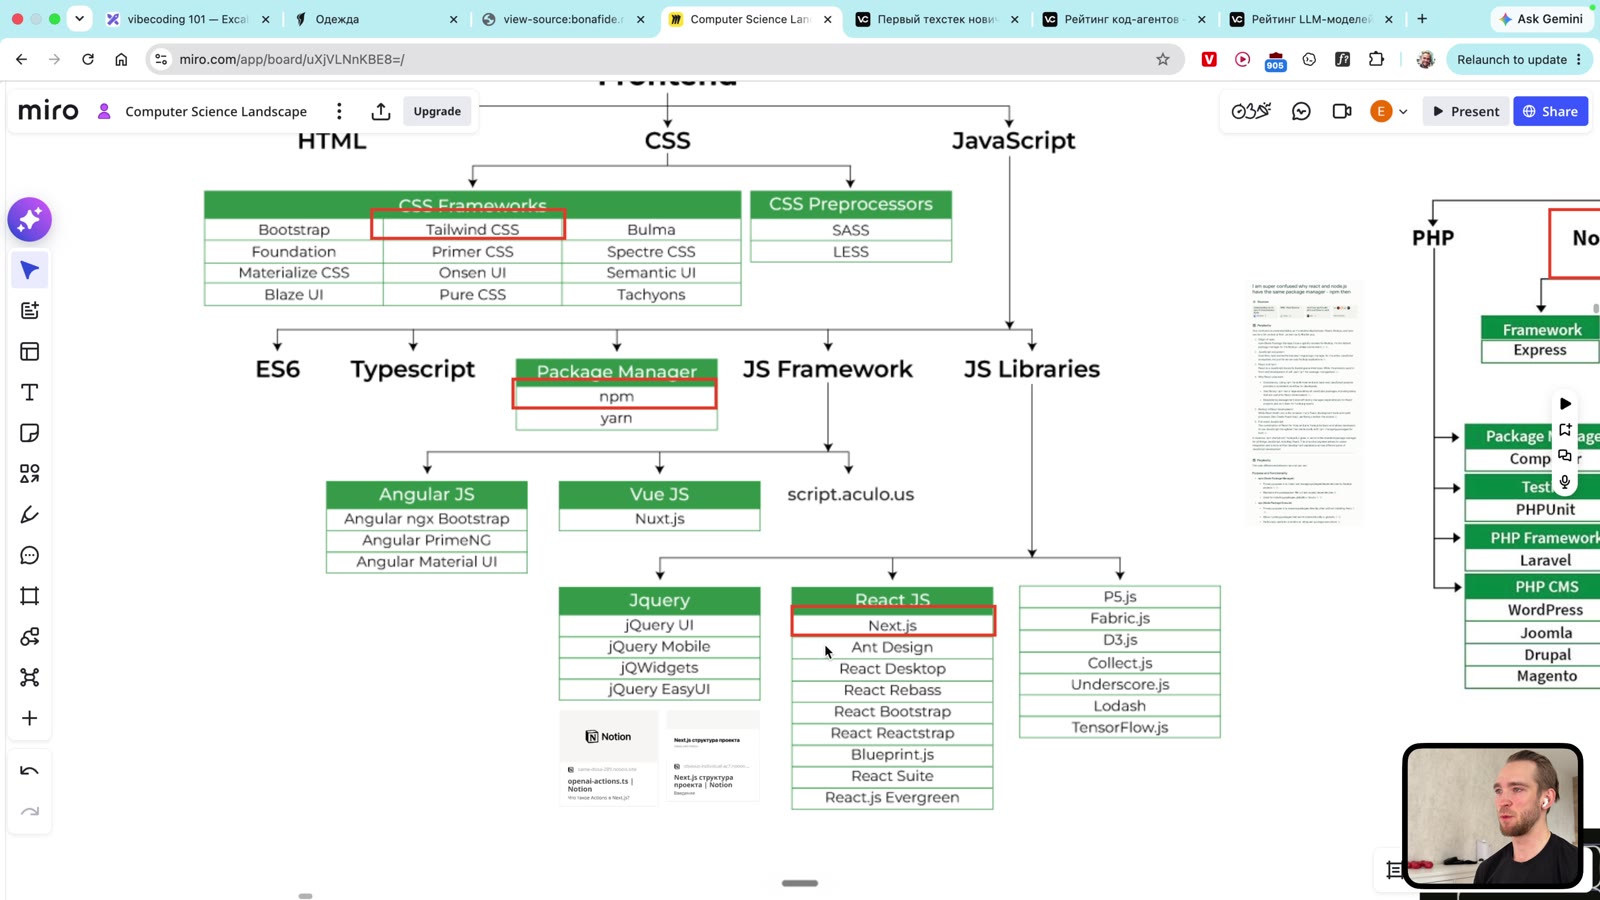 TypeScript and Next.js appear as a standard combination for modern web coding
Backend, data, and databases
The backend is the part of a system responsible for data, business logic, authorization, database work, request handling, and communication with external services.
It is easy for a beginner to think: "a website is an image." But almost any serious product quickly runs into data.
A user registered - where do you store the account?
A client submitted a lead - where did it go?
A buyer paid - where is the payment status?
An admin changed a price - where is that recorded?
This is where databases appear.
The simplest comparison: a database is like Excel, but for applications. It contains tables, records, relations, and queries. SQL is a language you can use to query and change data in relational databases.
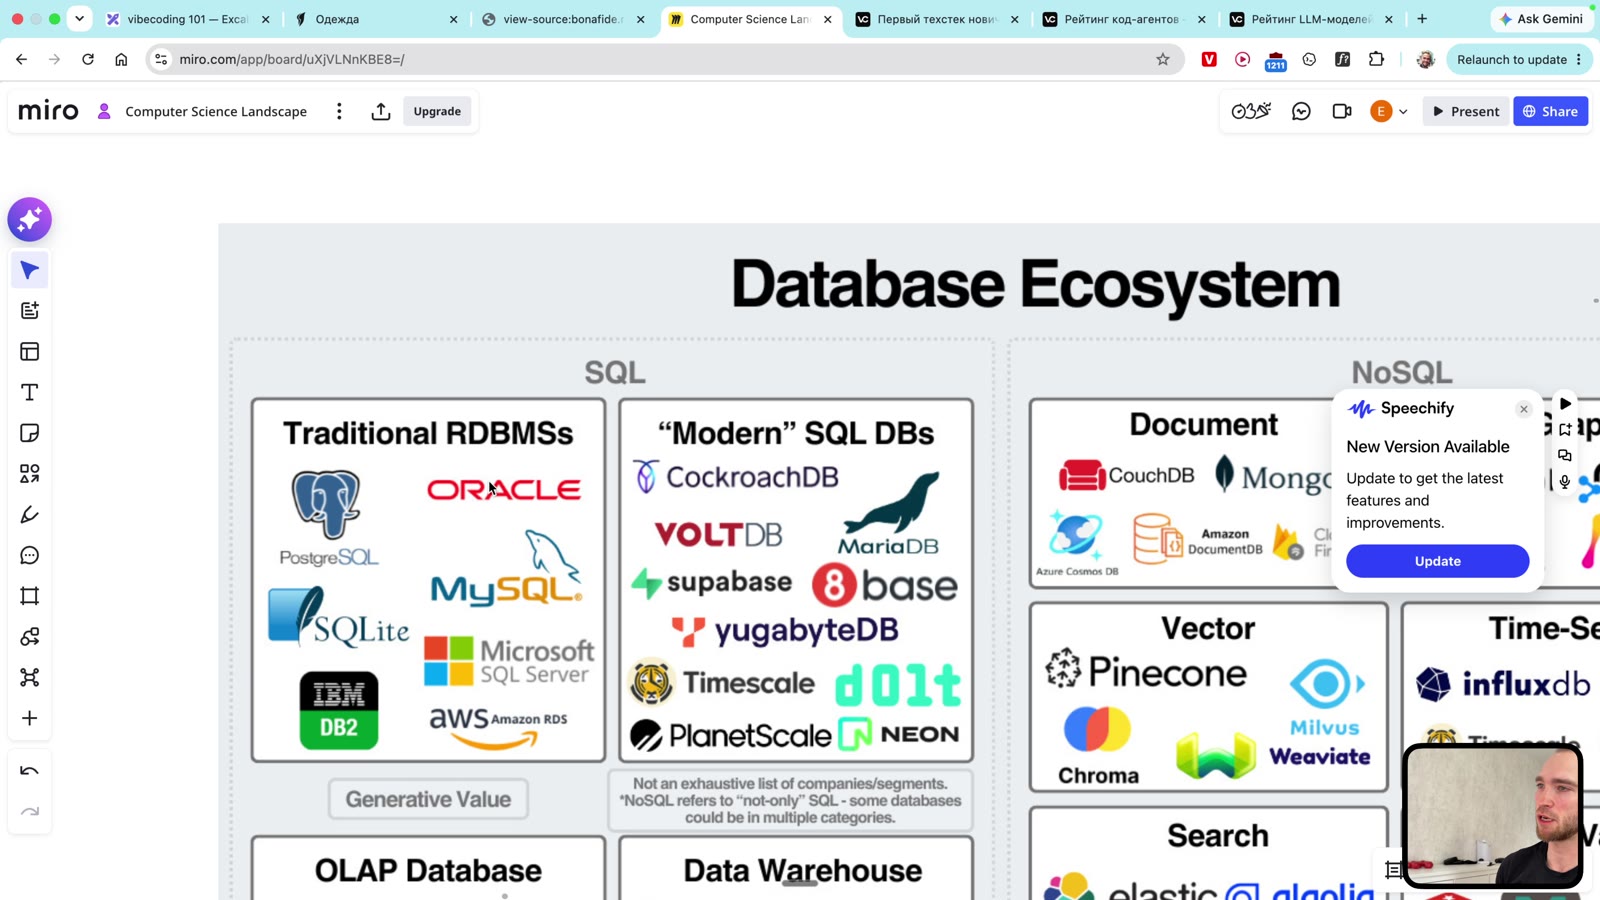 Database ecosystem from the video: SQL, NoSQL, document, vector, time-series, and other database types
For a first project, you do not need to know the entire database zoo. But you need to understand that "save data" is a separate task, not an automatic property of a page.
If you are making a static landing page, you may not need a database.
If you are making a lead form, you can initially send data to email, Telegram, Google Sheets, or a simple backend.
If you are building an application with users, payments, user accounts, and states, a database is almost inevitable.
For a beginner, a good strategy is not to get into the backend too early. First build the frontend and deploy it. Then add data storage through an understandable service: Convex, Supabase, or another backend-as-a-service.
API: how programs talk to each other
An API is an interface for program interaction.
When a client asks a server, "give me a list of products," that is an API request.
When a form sends a lead, that is an API request.
When your application calls OpenAI, a payment service, CRM, or database, it also often does so through an API.
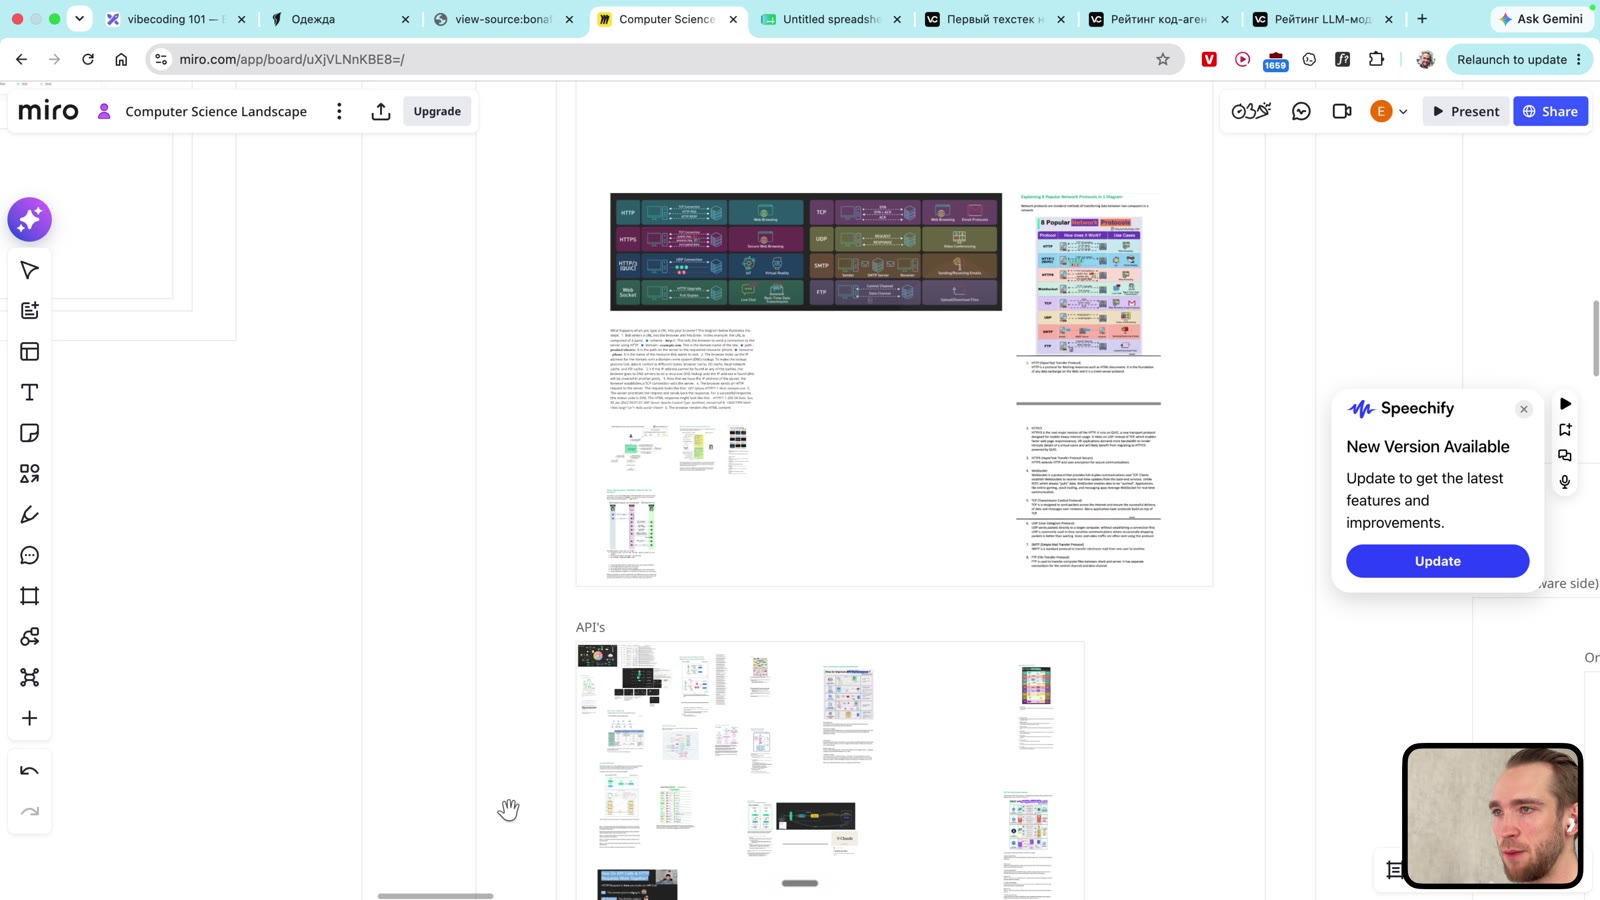 The video explains an API as a way for clients, servers, and external services to communicate
The most common format for beginners is REST API. There are others: GraphQL, WebSocket, RPC, and so on. You do not need to know all of them at the start. It is enough to understand that an API is an agreement: where to send a request, what data to pass, and what response to expect.
This is exactly why you need to give an AI agent context. If you simply say "connect payments," it can do anything. If you say "connect the form to an API that accepts name, email, phone, and message, handle errors, and show a success state," you have a better chance of getting a solid result.
Testing and edge cases
Writing the code is not the end.
You need to verify that the main flow works. Then check edge cases: an empty form, a long email, mobile view, a slow network, an invalid server response, a deployment error, or an incorrect environment variable.
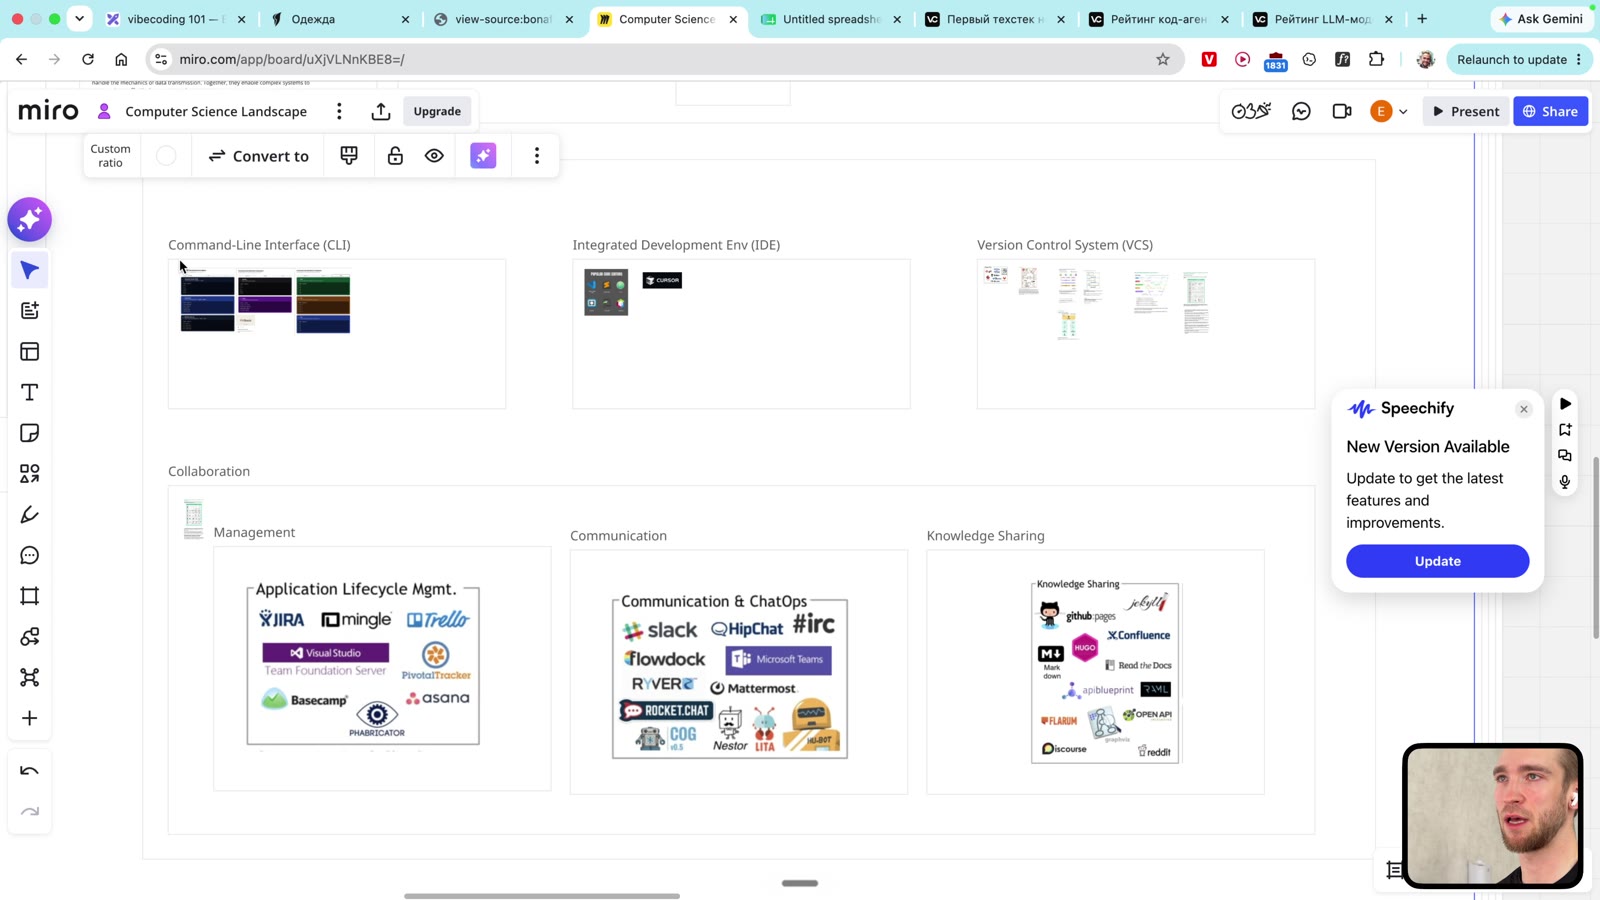 Testing is a separate stage in the video: built it - checked it - found an issue - handed it back to the agent
An edge case is a situation at the edge of the normal flow.
For example, the main task of a form is to submit a lead. Edge cases:
- the user did not enter an email;
- the user entered an email with an error;
- the server is temporarily unavailable;
- the lead was submitted twice;
- the button does not fit on a mobile screen;
- after successful submission, the person did not understand what happened.
A beginner often thinks development is "writing code." In practice, much of the work is getting a product to a state where it does not fall apart after the user's first imperfect action.
AI helps a lot here. But it will not guess all important edge cases unless you ask for them.
Part 2. Build your tech stack
Now we move from the map to a working set. A tech stack is not a list of trendy words. It is a combination of decisions that lets you create, verify, save, deploy, and later develop a project.
For a beginner, a tech stack should be boring and popular. Boring because there are fewer surprises. Popular because AI models have seen this code, documentation, errors, and common solutions well.
First stack for a beginner
In the video, I suggest a minimal international stack for your first vibecoding project.
You need:
- development environment: Cursor or a similar IDE;
- AI coding agent: Codex, Claude Code, or another agent;
- language and framework: TypeScript and Next.js;
- styles: Tailwind CSS;
- repository: GitHub;
- deployment: Vercel.
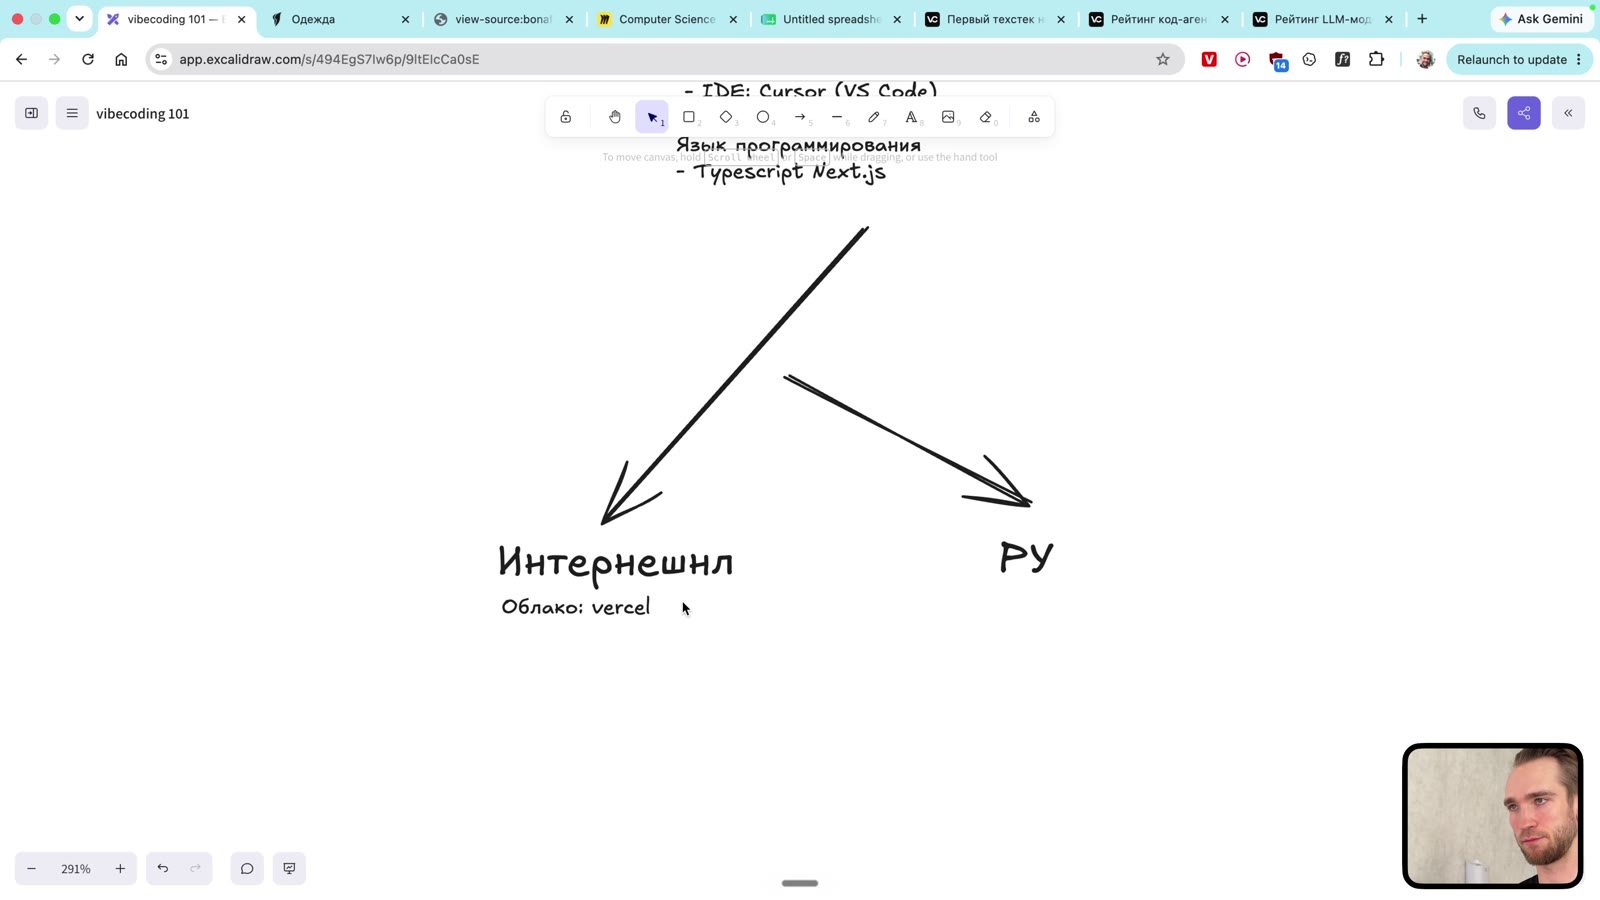 Minimal stack for a first project: IDE, agent, TypeScript, Next.js, GitHub, and Vercel
Why not choose something exotic?
Because AI works better with popular technologies. The more code, documentation, examples, and errors there are online, the better the model knows the stack. TypeScript, React, Next.js, Tailwind, GitHub, and Vercel are not the only path, but they are an understandable starter combination.
For Russia, you can build a similar stack with different infrastructure if you need Russian clouds, payments, data storage, and legal compatibility. But for a first international learning project, Vercel is simpler.
If you want to compare this with the current working set of tools, see my AI stack in 2026. If you need a separate page only about setup, it is here: a beginner's first tech stack. But below I will repeat the key steps directly in this article.
Model: what will think and write code
LLM means large language model. It is what powers ChatGPT, Claude, Gemini, and other AI services.
The model matters for vibecoding. Different models write code, understand context, fix errors, use tools, and handle long tasks differently.
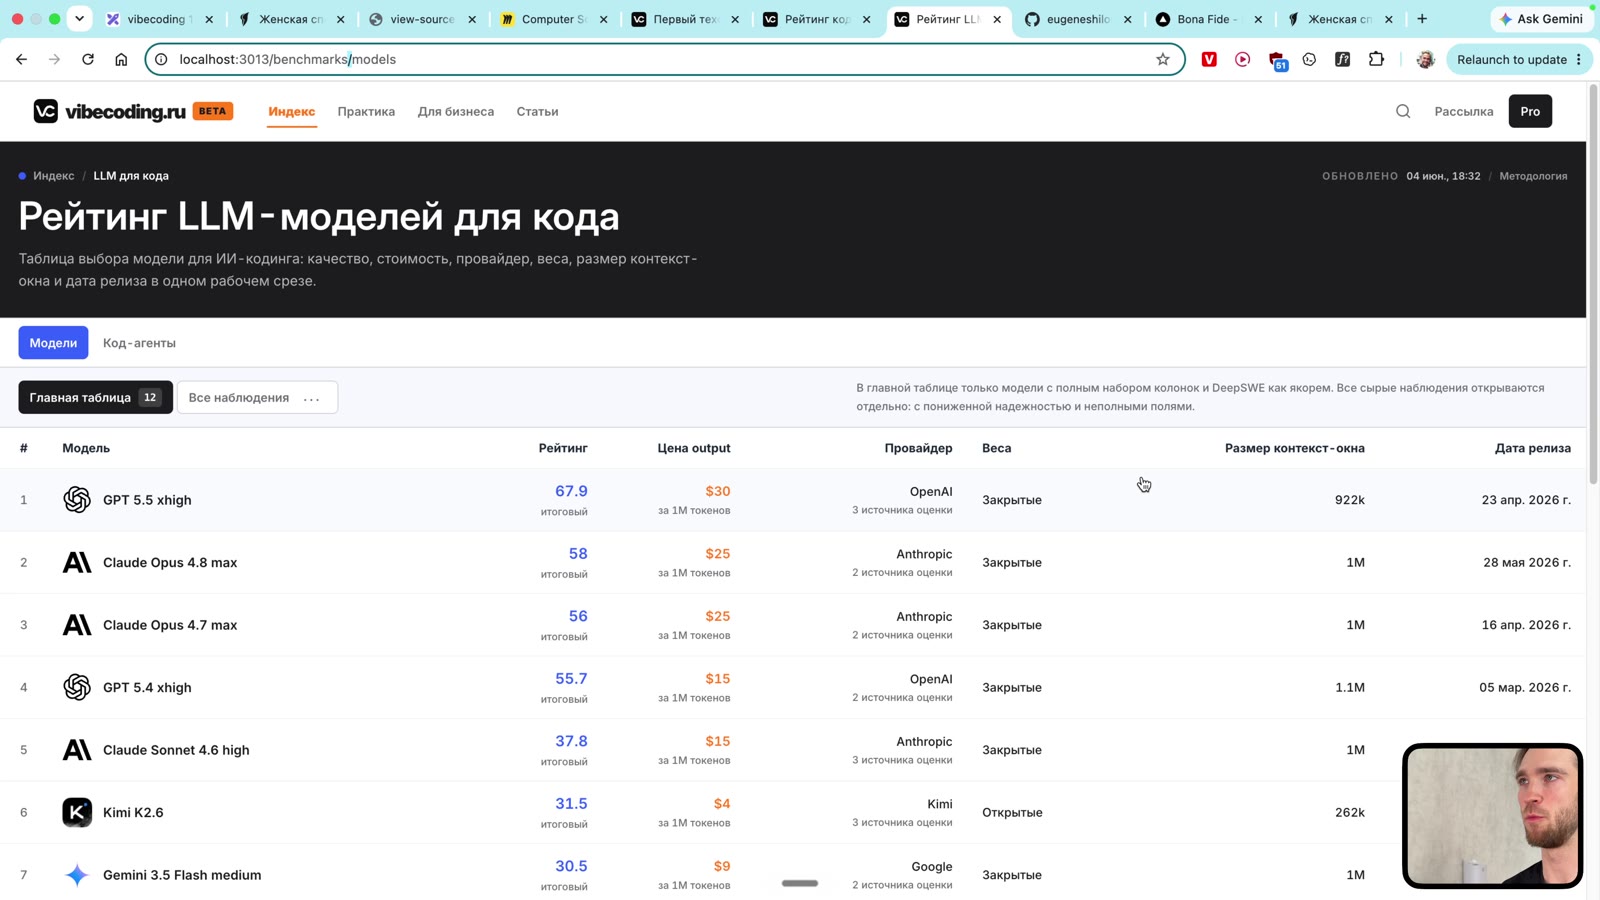
In the video, I show the vibecoding.tech benchmarks section: it compares coding models using aggregated signals from different sources. If you are choosing a model specifically, start with the model ranking. If you are choosing not a model but a working coding agent, see the coding-agent benchmarks.
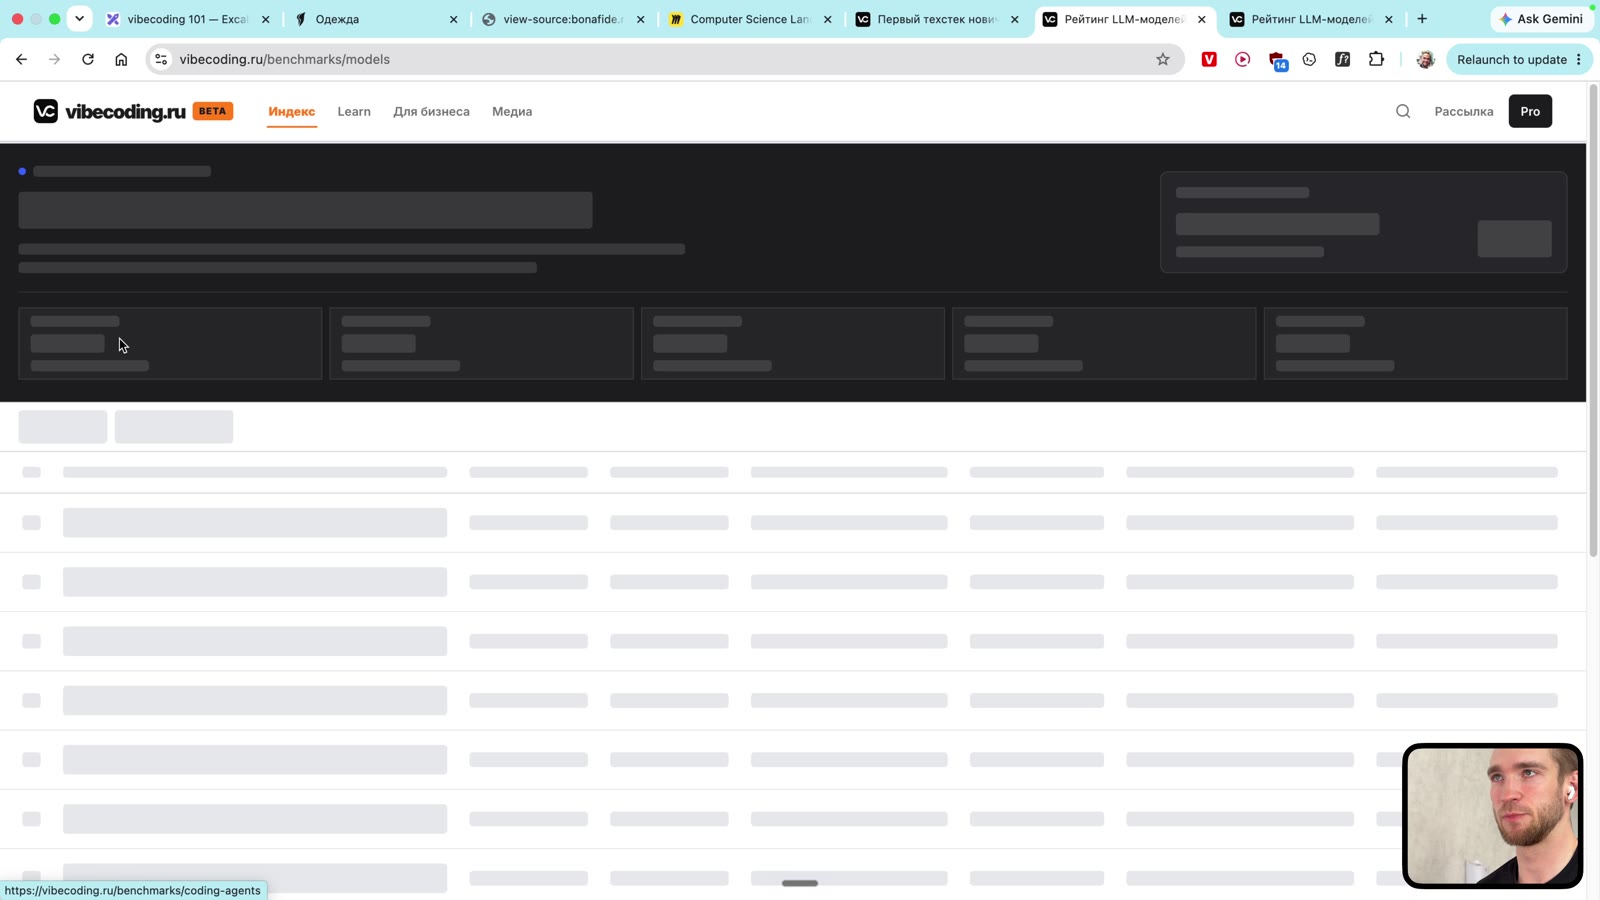 vibecoding.tech benchmarks help you choose a coding model based on measurable signals rather than rumors
But there is an important rule: do not memorize the name of the "best model" forever. On June 8-9, 2026, the landscape is one way; a week later, it may change. So it is better to understand the principle:
- a cheaper model works for small edits;
- complex architecture and large tasks need a strong model;
- for design and taste, not only the benchmark but also real hands-on experience matters;
- for code, not only chat matters, but also how the model works inside an agent with files, terminal, and browser.
Code: where the project and agent live
AI coding tools have now spread across different formats.
IDE - the tool is built into the development environment. Cursor is the main example.
CLI - the agent lives in the terminal. Claude Code and Codex CLI are examples.
Desktop app - a standalone application where you can open a project and work with an agent. Codex in this format is convenient when you want chat, files, terminal, and working context side by side.
Cloud agent - you give a task in the cloud, and the agent works somewhere there, often without full visual control.
Web builder - Lovable, Bolt, and similar tools where the user builds an application in the browser.
GitHub-native agent - an agent works directly with the repository, issue, and pull request.
In the video, I show several surfaces and explain why I use Codex for a practical project.
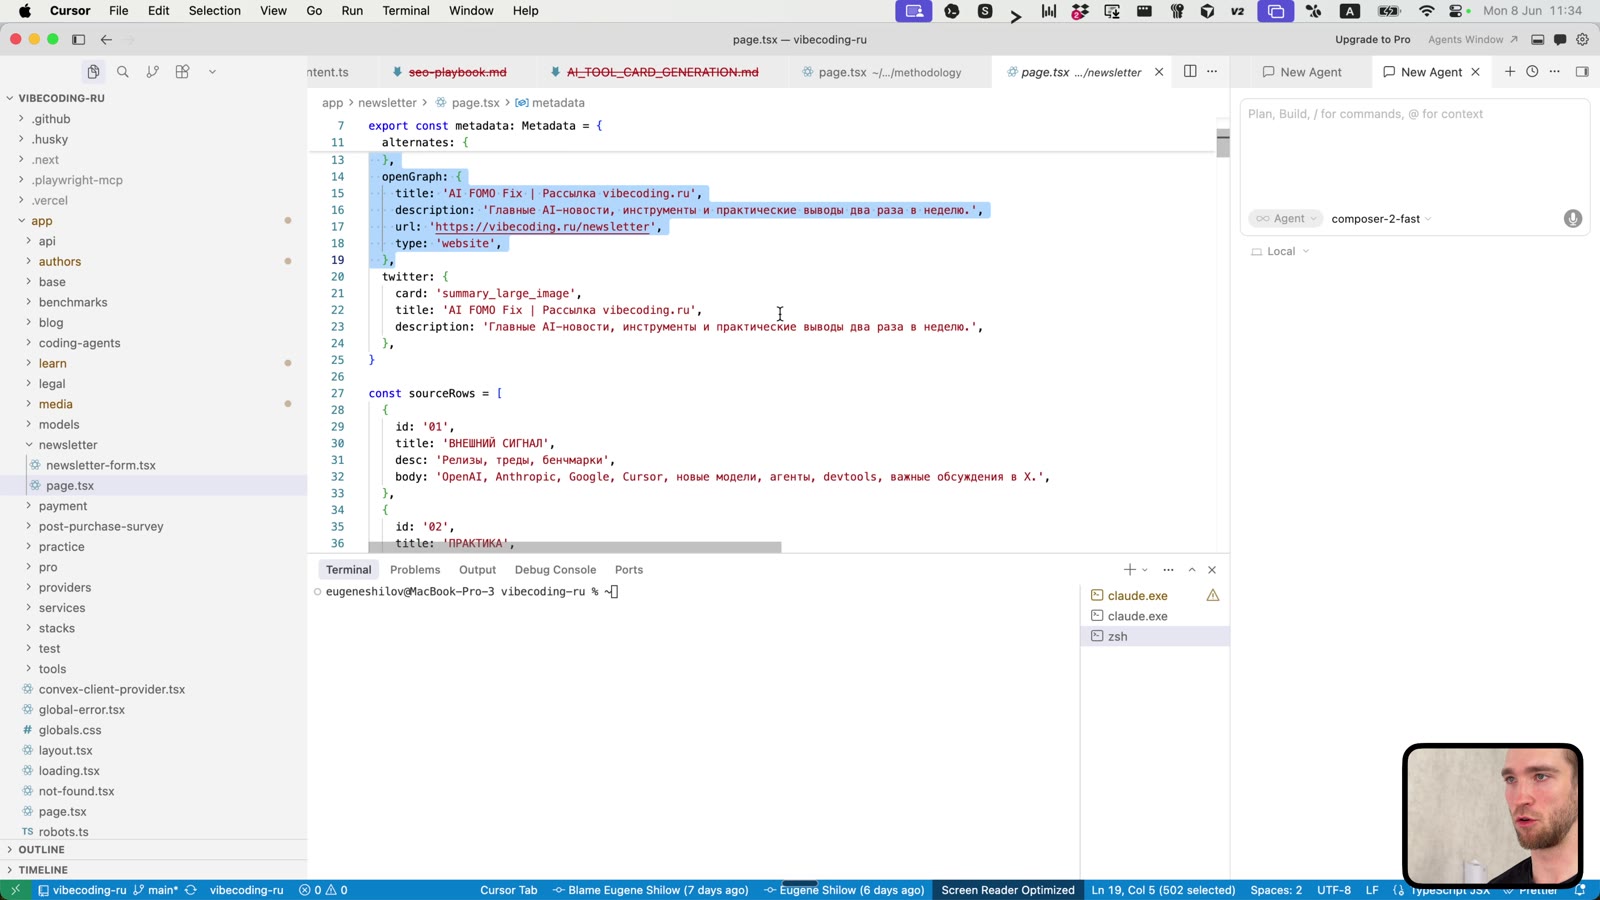 Cursor as an IDE: files on the left, terminal below, code and project structure on the right
Claude Code is good as a terminal agent. It lives closer to the classic developer workflow: terminal, files, commands, and checks.
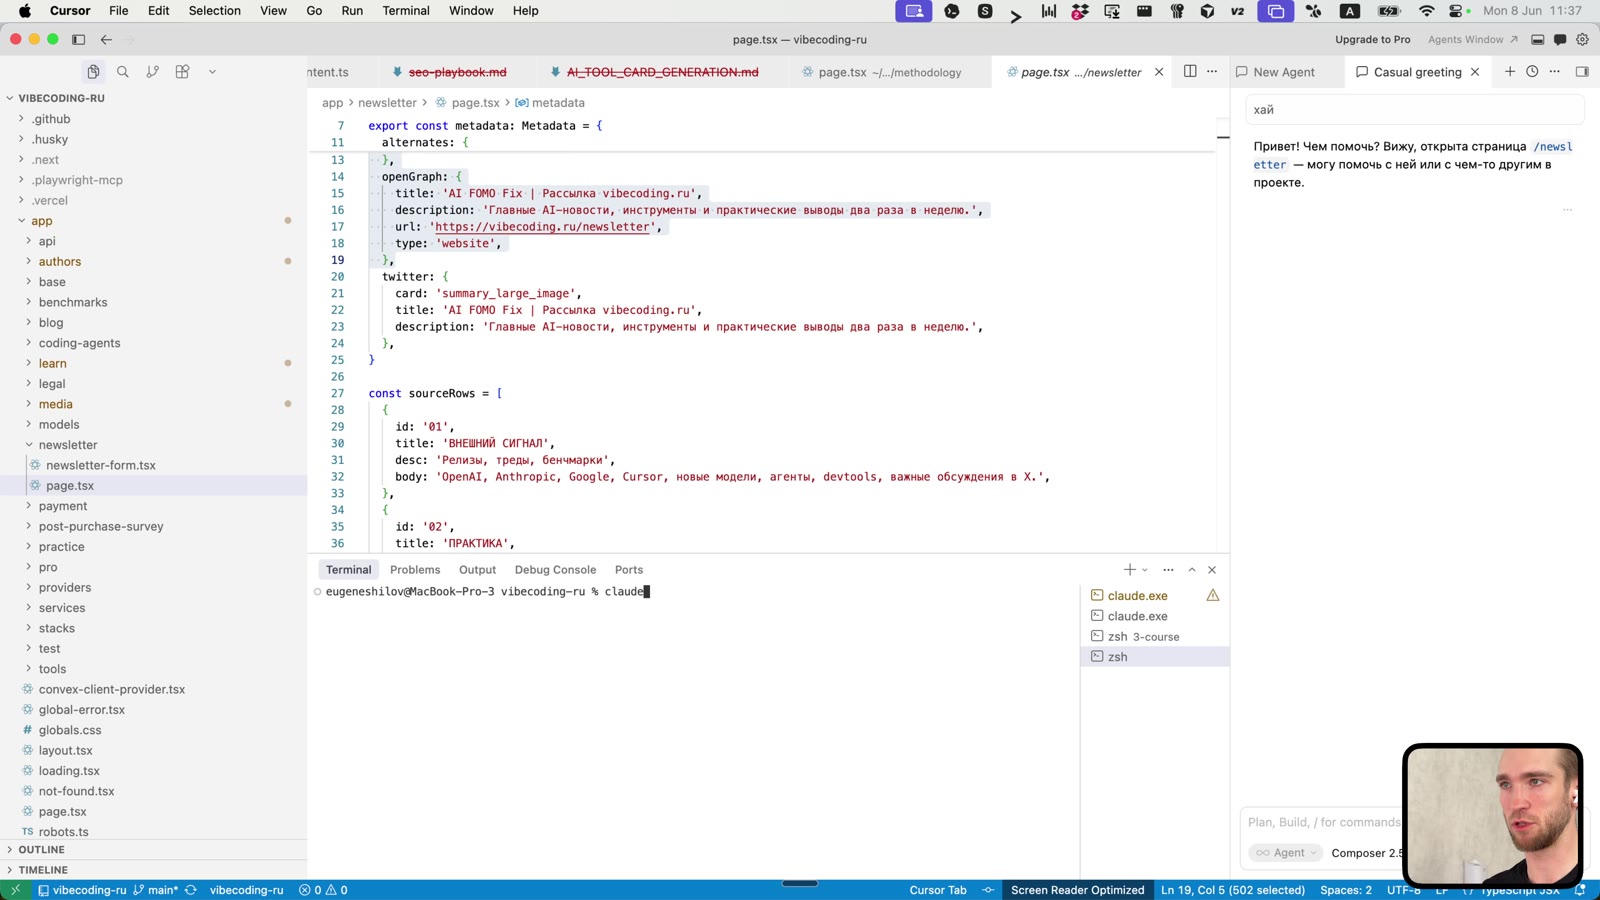 Claude Code in the terminal: the CLI format is closer to standard engineering work
Codex is convenient in this run because you can work in a separate application and see chat, project, terminal, file tree, and browser context.
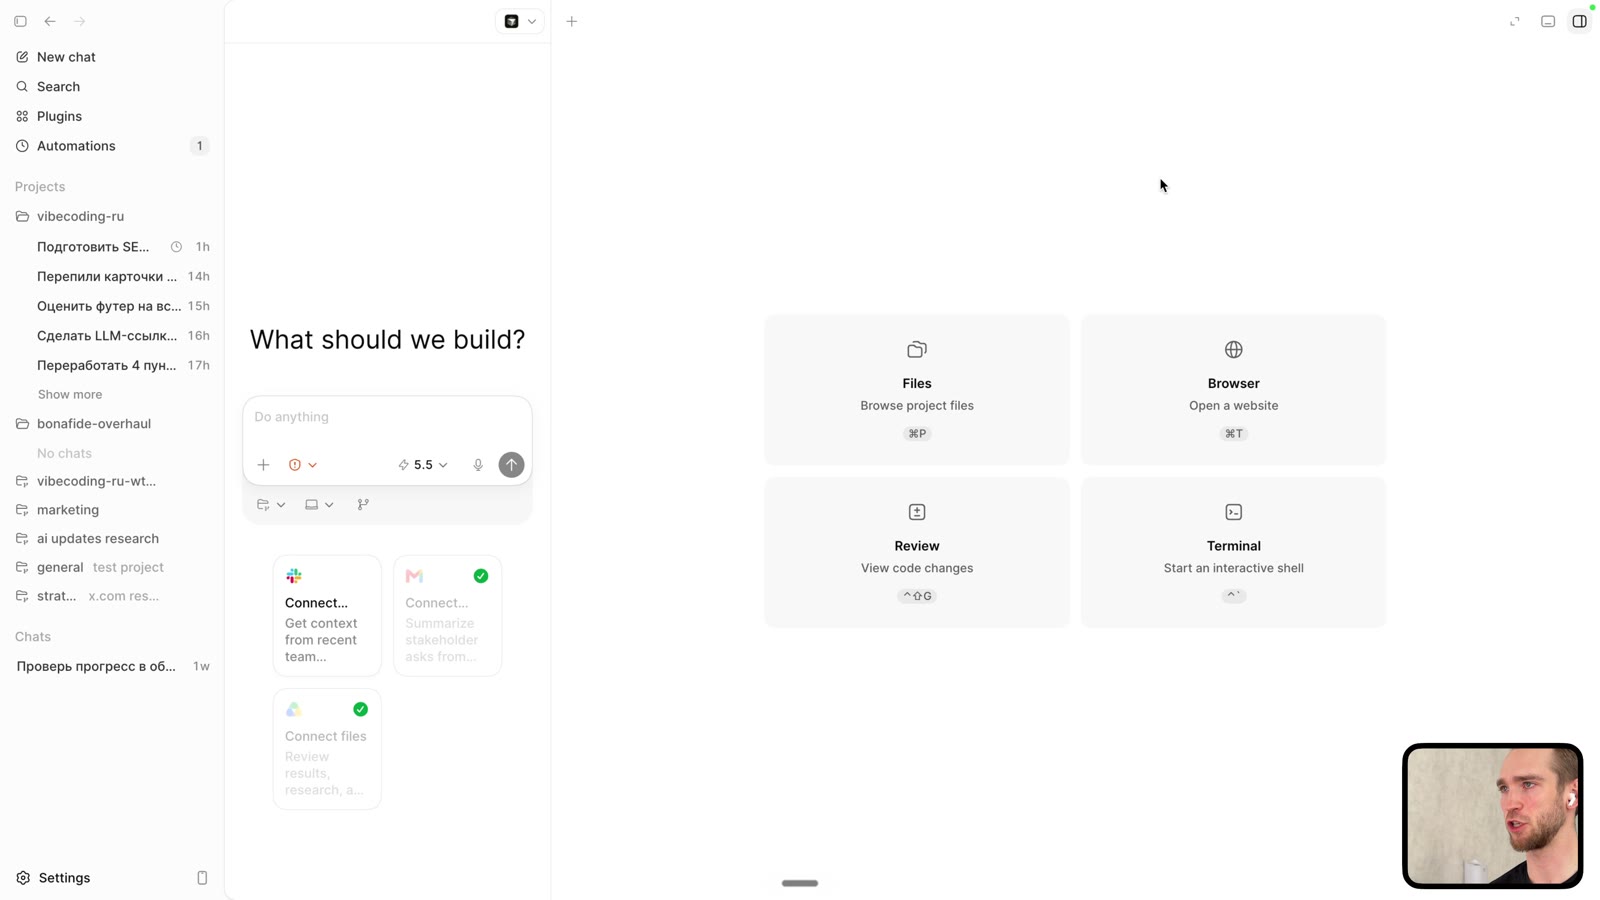 Codex App interface: chat, project, file tree, terminal, and browser context
Important: you do not need to become a fan of one interface. Tools change. The map remains. If you want to view tool profiles separately, start with the tool database: Codex, Claude Code, Cursor, and other entities are gradually being added there.
Skill: your role in a vibecoding project
The third stack layer is skill. It sounds less exciting than "a new model" or "a new agent," but it is what determines whether you end up with a product.
Vibecoding does not mean "I understand nothing and AI will do everything." The working formula is different:
- the model provides intelligence;
- the tool provides access to code, terminal, and browser;
- skill turns chaotic generation into a controlled process.
At the first stage, a beginner should have four core skills.
First, defining a task. Not "make it beautiful," but "make a landing page for brand X, in style Y, with Next.js and Tailwind, without a backend, with a responsive hero section, catalog, and form."
Second, reading the result visually. Open the page, go through the flow, look at the mobile version, and compare it with the original task.
Third, turning a feeling into specific feedback. Not "this is bad," but "the button gets lost, the hero does not feel like premium retail, the mobile heading breaks, the Vercel build failed on an import error."
Fourth, taking it to a public link. As long as a project lives only locally, it has not faced reality. GitHub and Vercel are not box-checking tools, but ways to make a project openable, verifiable, and shareable with another person.
That is why the stack in this article is structured not as a list of apps, but as a system: model, code, skill.
Tech stack setup: go through it once and do not return to chaos
Below is a concise but working version of the separate guide a beginner's first tech stack. If you are reading this article as instructions, you can follow the steps here directly.
-
Create a GitHub account. Open github.com/signup, register, confirm your email, and enable two-factor authentication. GitHub is where your code and change history will live.
-
Open the terminal. On Windows, use PowerShell or Windows Terminal. On macOS, use Terminal. The terminal is not for showing off, but for running the project, installing dependencies, and seeing errors.
Check:
pwd
The command should show the current folder.
- Install Git. Download Git from git-scm.com/downloads, install it, and restart the terminal.
Check:
git --version
Set your name and email right away:
git config --global user.name "Your Name"
git config --global user.email "you@example.com"
4. Install Cursor. Download the editor from cursor.com/download. You can use VS Code, but Cursor is more convenient for beginners because files, terminal, and AI are in one workspace.
- Install Node.js LTS. Open nodejs.org/en/download, choose the LTS version, install it, and restart the terminal.
Check:
node -v
npm -v
If versions appear, Node.js is installed correctly.
-
Install pnpm. This is the package manager we will use to create and run the project.
npm install --global corepack@latest corepack enable pnpm pnpm -v
If pnpm does not appear, use the direct installation:
npm install -g pnpm@latest-11
pnpm -v
7. Create your first Next.js project. Go to a convenient folder, for example your desktop, and create an app:
pnpm create next-app@latest first-vibe-project --yes
cd first-vibe-project
pnpm dev
Open http://localhost:3000. If you see the Next.js starter page, the project is alive.
-
Open the project in Cursor. In Cursor, choose File -> Open Folder, open the first-vibe-project folder, then open the integrated terminal through Terminal -> New Terminal. Check that pnpm dev runs from Cursor too.
-
Make your first commit. This saves the project state.
git status git add . git commit -m "Initial Next.js app"
-
Create a repository on GitHub and send the code. On GitHub, click New repository, name it first-vibe-project, do not add an extra README, create the repository, and run the commands from the project terminal. Replace USERNAME with your GitHub username.
git branch -M main git remote add origin https://github.com/USERNAME/first-vibe-project.git git push -u origin main
-
Add a backend only when data appears. If the project only displays one page, you do not need a backend yet. If leads, users, tasks, posts, or counters appear, you can add Convex:
pnpm add convex pnpm convex dev
The main rule: first the page and deployment, then data. Do not turn the first day into an architecture marathon.
- Deploy to Vercel. Open vercel.com/signup, sign in through GitHub, click Add New -> Project, choose the first-vibe-project repository, check that Framework Preset is set to Next.js, then click Deploy.
By the end, you should have four things: a project folder on your computer, code on GitHub, a public Vercel link, and an understanding of how to repeat the cycle.
If something breaks, do not panic. An error is not a failure, but specific text for an agent. Copy the log, give it to Codex, Claude Code, or Cursor, and ask it to fix it while keeping the selected stack.
Part 3. Your first vibecoding project
Now we connect the map and stack in real work. The purpose of this section is not to learn every term, but to go through a full cycle: task, architecture, code generation, verification, GitHub, Vercel, and iteration.
Practical case: redesigning the Bonafide website
Theory matters, but without practice it fades quickly. That is why in the video we take a real case: make a new version of the Bonafide website inspired by Nike.com.
First, we define the task for the agent: what product, what visual reference, what stack, what must be on the page, where we host it, and what we do not do in the first version.
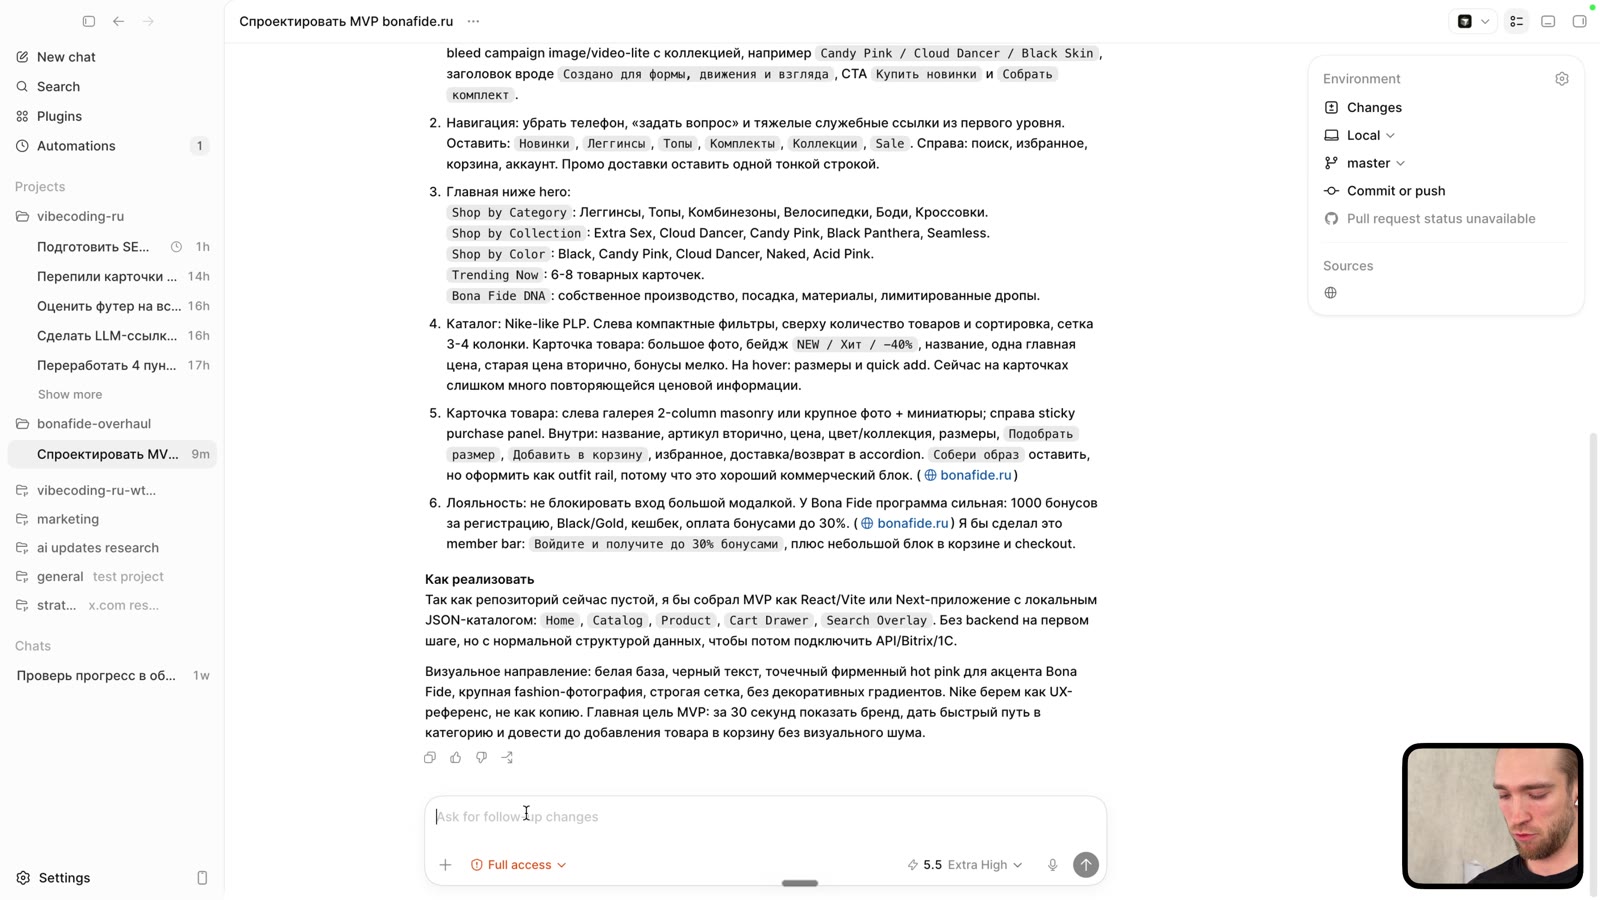 The prompt for an agent should include the goal, stack, visual reference, and constraints
At the architecture stage, we lay the task out on the map:
- frontend: Next.js, TypeScript, Tailwind;
- backend: not in the first version;
- data: static content on the page;
- deployment: Vercel;
- repository: GitHub;
- testing: locally and after deployment.
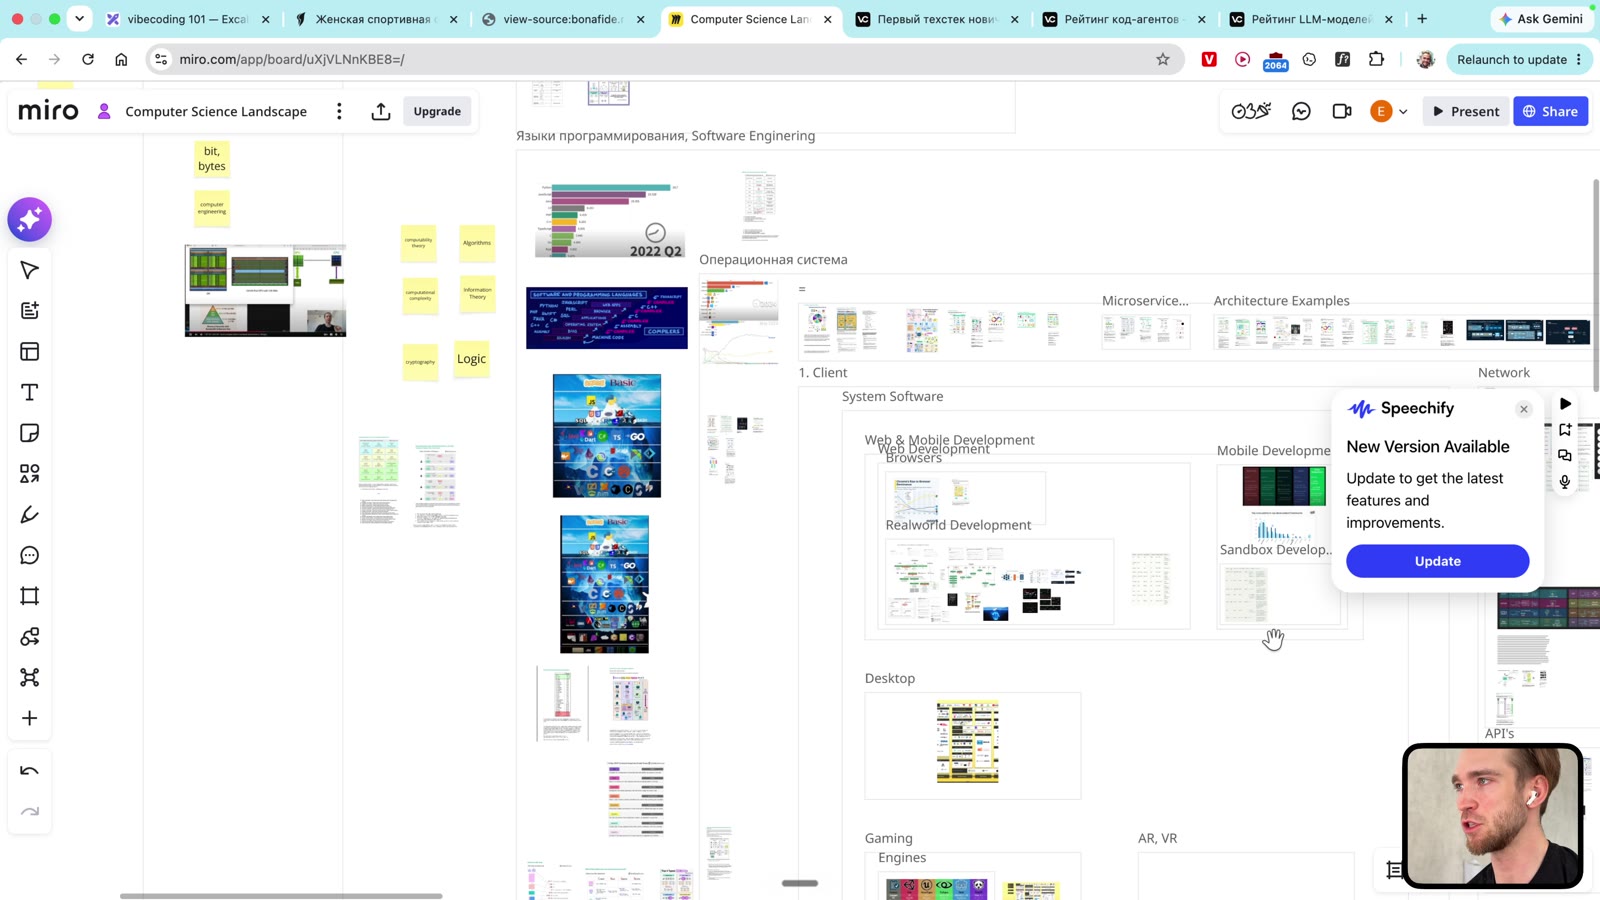 Architectural mapping of the task to the IT map: what belongs to frontend, backend, server, and deployment
This is an important point. A beginner often asks AI to "make a website," then is surprised that the agent chose a strange stack, did not understand the design, built an unnecessary backend, or put the project in the wrong place.
The more precisely you define the boundaries, the less the agent has to guess.
GitHub: why you need a repository
GitHub is where a project's code and change history are stored.
For your first project, you do not need deep Git knowledge. But you need to understand the minimum:
- the project should live in a repository;
- changes can be sent to GitHub;
- Vercel can take code from GitHub and deploy the website;
- if something breaks, you have history and a rollback point.
 Creating a new GitHub repository for the project in the video
If you are building a project for yourself or a client, it is usually better to make the repository private. In the video, the repository can be public because it is a demo case.
Verifying the result
When the agent generates a page, do not immediately trust it. Open it, look at it, click around, check the mobile version, compare it with the task, and find mismatches.
In the video, the first result is not perfect. That is normal. Vibecoding is not about "one prompt and done." It is about iteration speed.
 The first result needs visual review: an agent may create a working version, but not a final one
Good feedback for an agent does not sound like this:
"bad, redo it."
Better:
"The website feels too generic, there is no Nike-like motion, the logo is missing, the hero is weak, the buttons do not feel like premium retail, check the mobile version, keep the Next.js and Tailwind stack, do not add a backend."
AI fixes things better when you turn taste and frustration into specific requirements.
Deployment: local code, GitHub, and Vercel
Deployment is publishing a project online.
In the simple version, the path is:
local project, then GitHub, then Vercel, then a public URL.
You work on your computer. Code is sent to GitHub. Vercel connects to the repository, builds the project, and publishes the website.
 Deployment diagram from the video: local codebase, GitHub, and Vercel
Why this matters for a beginner: a website that works only on your laptop is not a product yet. A product begins when another person can open a link.
And yes, deployment often breaks.
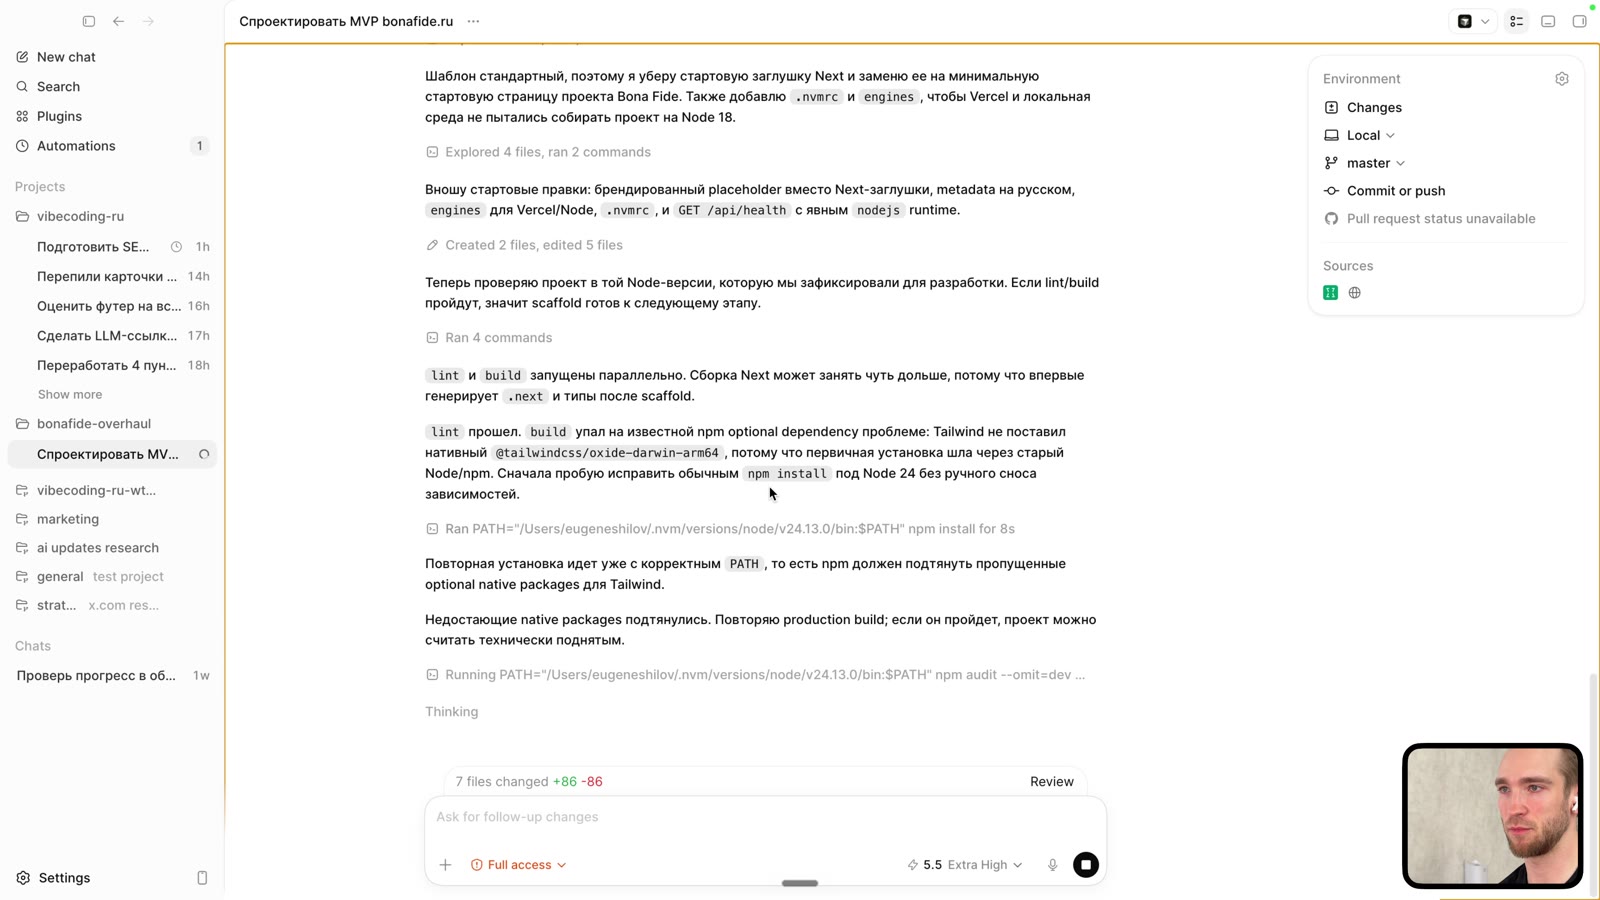
In the video, Vercel did not immediately recognize the project as Next.js. This is not a catastrophe. It is a normal part of the work. There is a log, an error, and an agent you can give context to and ask to fix it.
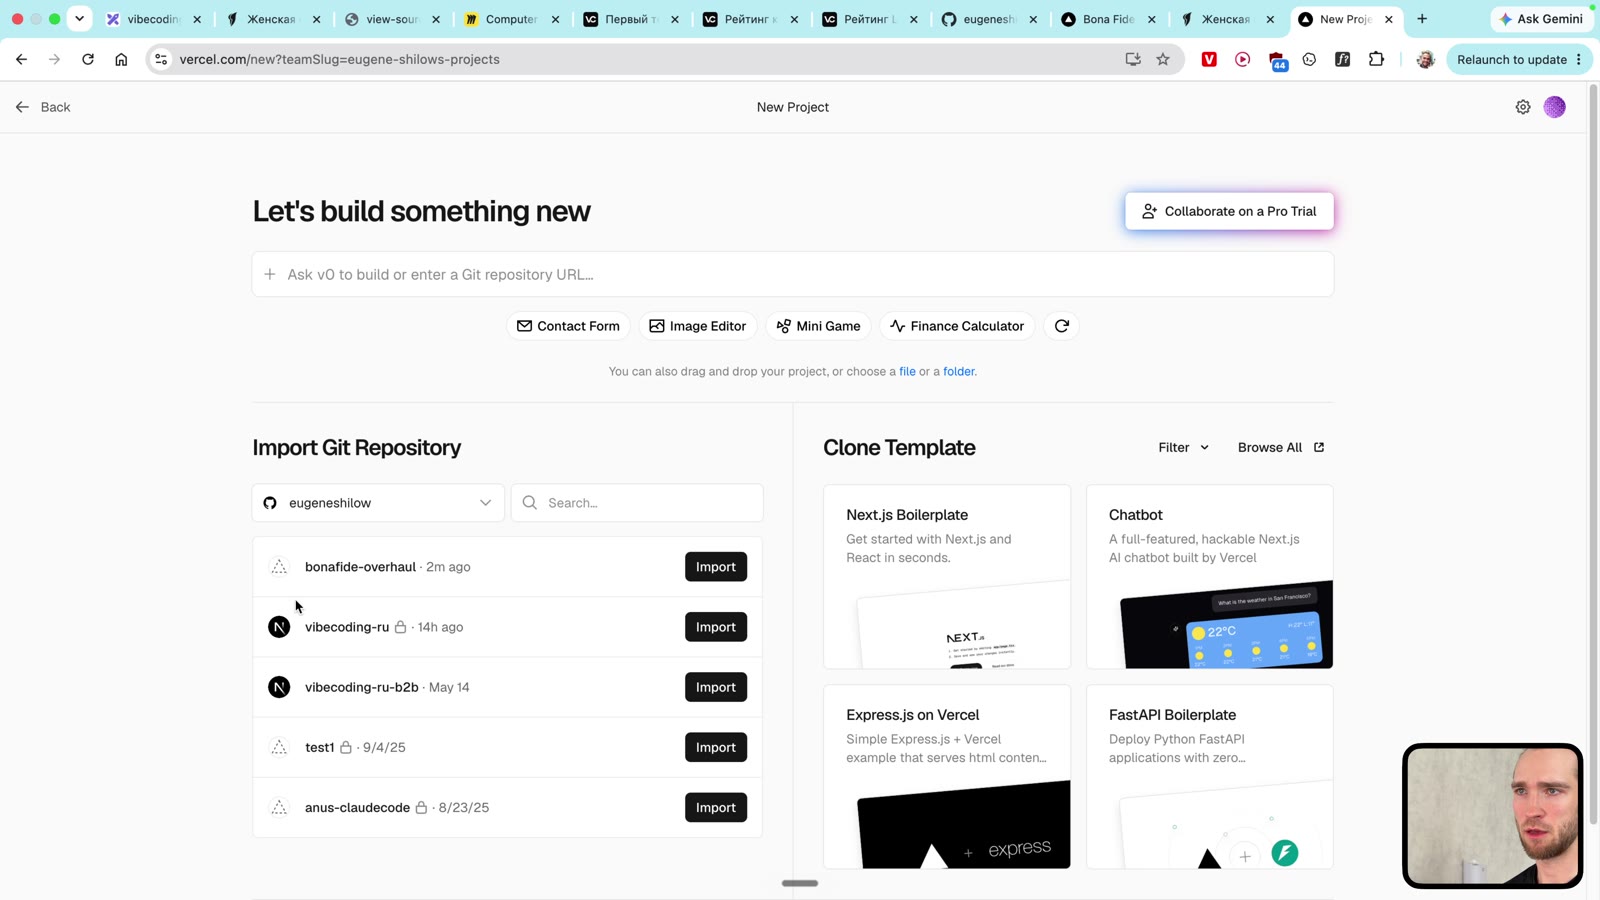 Vercel does not always automatically identify a project: deployment errors need to be read and fixed
When deployment is ready, a public link appears. But that is not the end. After deployment, another issue almost always appears: the logo is in the wrong place, text did not update, the mobile version shifted, or a button does not work.
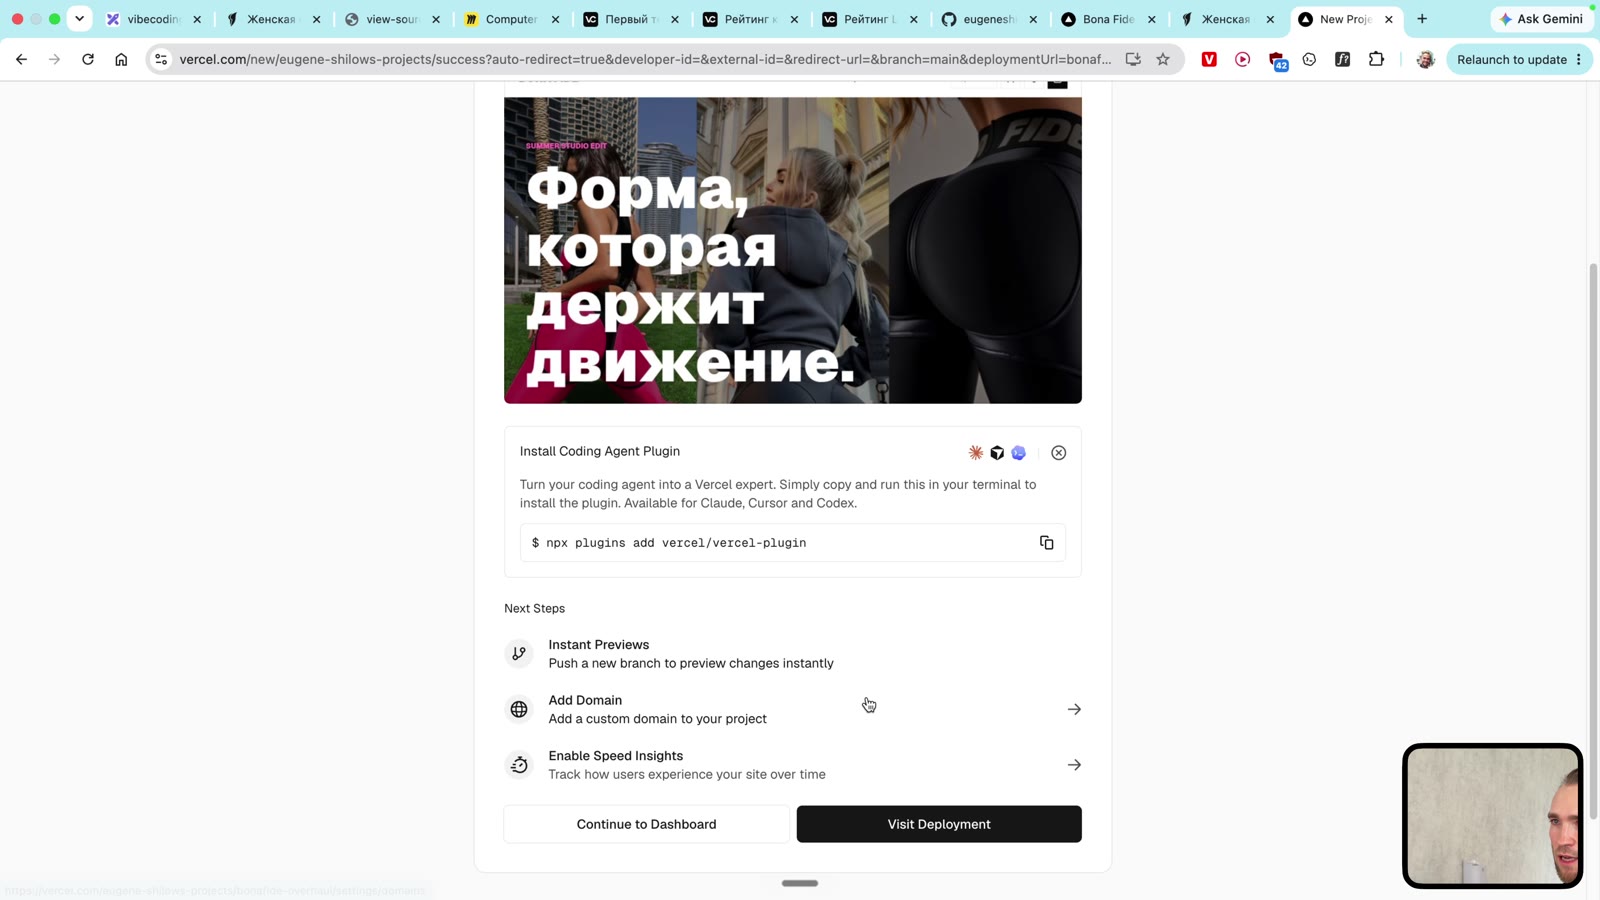 Deployment is ready: the project can now be opened as a public website
Iteration after deployment
The sixth step is iteration. It is what separates "generated a demo" from "took it to a product."
In the video, a logo issue is found after deployment. We do not start over. We give the agent a specific task, it fixes it locally, pushes to GitHub, and Vercel pulls in the update.
That is the normal workflow:
- Set a goal.
- Lay it out through architecture.
- Generate code.
- Verify it.
- Deploy it.
- Spot an issue.
- Fix it.
- Repeat.
 After deployment, the agent fixes the issue and sends changes through GitHub to Vercel again
It is important for beginners to accept that errors will always happen. The question is not how to make everything perfect on the first try. The question is how quickly you move through the error cycle.
First vibecoding project checklist
If you want to repeat the path from the video, use this order.
- Define a specific goal. Not "learning," but "building a page/form/tool."
- Describe the user and flow. Who will open it, what they will see, and what they should do.
- Choose a simple stack. For an international frontend: Next.js, TypeScript, Tailwind, Vercel.
- Clarify whether you need a backend. If you can avoid a database in the first version, avoid it.
- Open the project in Cursor or another IDE.
- Start an AI agent and give it a task with constraints.
- Verify the local result visually.
- Create a GitHub repository.
- Send the code to GitHub.
- Connect Vercel and deploy.
- Read the errors if deployment fails.
- Give the agent the logs and ask it to fix them.
- Verify the public URL.
- Make the first iterative fix.
This is already a complete development cycle. Small, but real.
Where beginners make mistakes most often
The first mistake is asking too broadly. "Build an app" is almost always worse than "build a lead page with three sections, a form, and deployment to Vercel."
The second mistake is not understanding where the problem is. If you cannot distinguish frontend, backend, database, API, and deployment, every bug looks the same.
The third mistake is treating the first result as final. AI often produces a draft. Your work is to refine the task, give feedback, verify it, and repeat.
The fourth mistake is getting into a complex backend too early. For a first project, it is better to take a simple frontend to a public link than spend a week building ideal architecture and show nothing.
The fifth mistake is ignoring deployment. Until the project opens through a link, it has not faced reality.
How this connects to the course
This article provides a basic map. It is enough to understand where to look and how to build your first simple vibecoding project.
But systematic vibecoding is broader:
- how to choose tools for a task;
- how to define tasks for agents;
- how to verify code;
- how to work with backends, payments, auth, and databases;
- how to build product architecture;
- how to avoid getting one-time AI slop instead of a maintainable project.
If you want to learn this not in random fragments but as a system, see the systematic vibecoding course. If you want to follow the tool market, subscribe to AI FOMO Fix. If you are choosing a model or agent, start with benchmarks and the tool database.
FAQ
Can I start vibecoding if I am not a programmer at all?
Yes. But you should start not with "learn all languages," but with a small goal, a clear IT map, and a simple stack. AI will write most of the code, but you should understand what it does at the block level.
Do I need to learn JavaScript before my first project?
Not deeply. But it is useful to understand that JavaScript handles web behavior, TypeScript makes it stricter, and Next.js helps build modern websites and applications.
What should a beginner choose: Cursor, Codex, or Claude Code?
For a first project, an interface where you can see files, chat, terminal, and the result is more convenient. Cursor is good as an IDE. Codex is convenient as an agent workflow. Claude Code is good as a terminal agent. The choice matters less than the ability to define a task and verify the result.
Do I need a backend in my first project?
Not always. If you are making a static page, you can manage without a backend. If you need users, leads, payments, an account area, or data storage, you will need a backend.
Why Vercel?
For an international Next.js project, Vercel is the simplest start: it understands Next.js well, connects to GitHub, and quickly provides a public URL. Russian scenarios may require other cloud and payment solutions.
What should I do if AI generated a bad result?
Do not accept it as final. Describe specific problems, give the agent constraints, attach logs or a screenshot, and ask it to fix them. Vibecoding is an iterative process, not a single prompt.
Where can I watch the original video?
The video behind this article: Programming Is the New Excel. Now Even You Can Program.
Sources and next steps
- Original YouTube video
- AI Coding Index and model benchmarks
- vibecoding.tech tool database
- Step-by-step setup for your first tech stack
- My AI stack in 2026
- Systematic vibecoding course
- AI FOMO Fix newsletter